Kain Hut to Applebee Campground: The Bugaboos
So you’ve decided you want to hike in the Bugaboos? You’ve chosen one of the best hikes in the area in my opinion.
I did this hike as a backpacking trip during the summer and was absolutely blown away by the views not only at the top but along the trail.
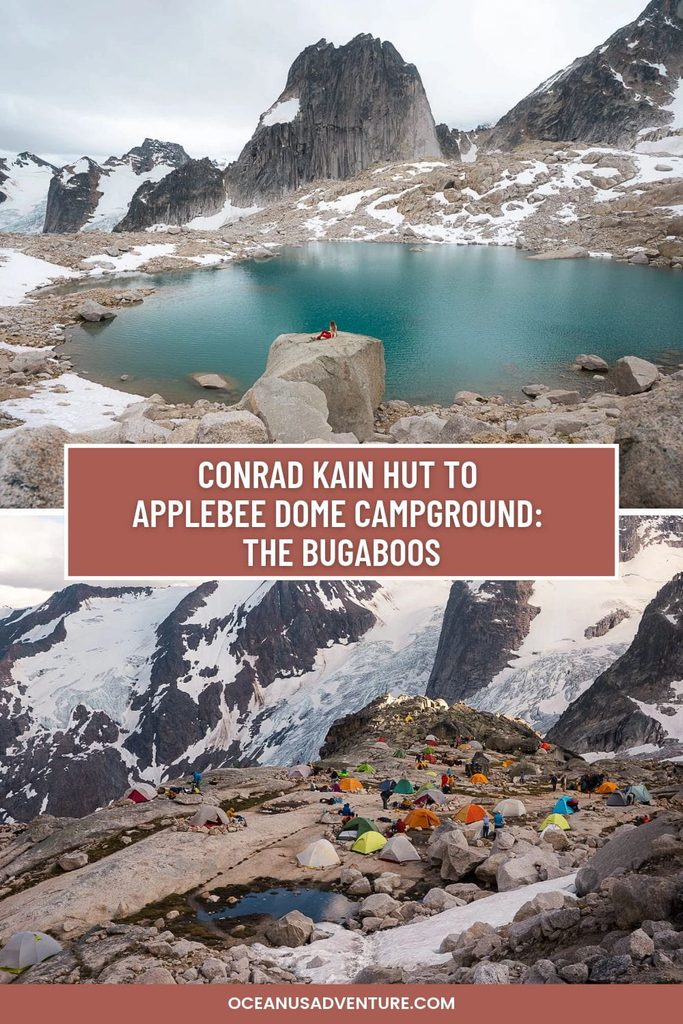
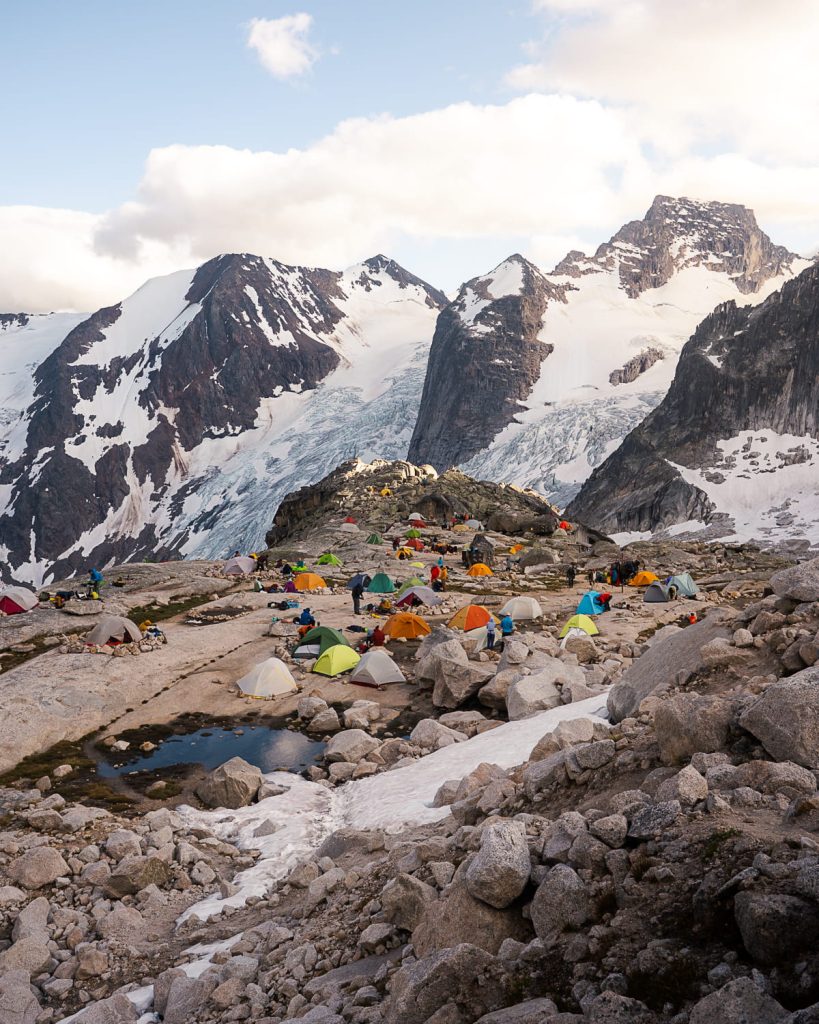
The campground is set amongst insane rock spires with views of the glacier, surrounding mountains and sits on a giant rock slab. I’ve never been to Nepal but for some reason the view of all the tents at the top really made me think of Base Camp.
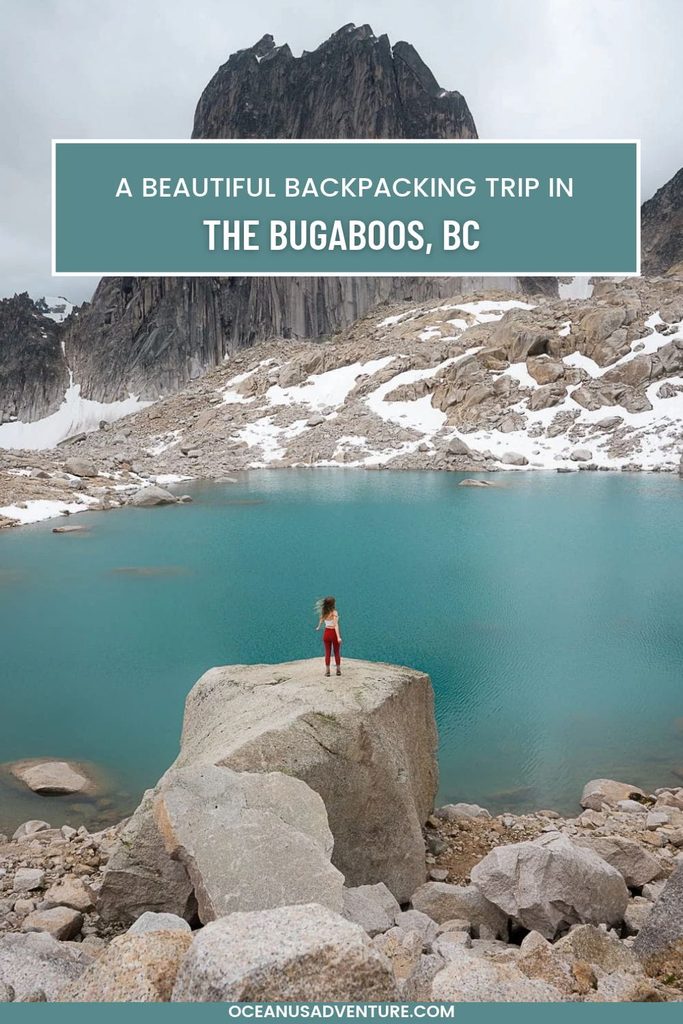
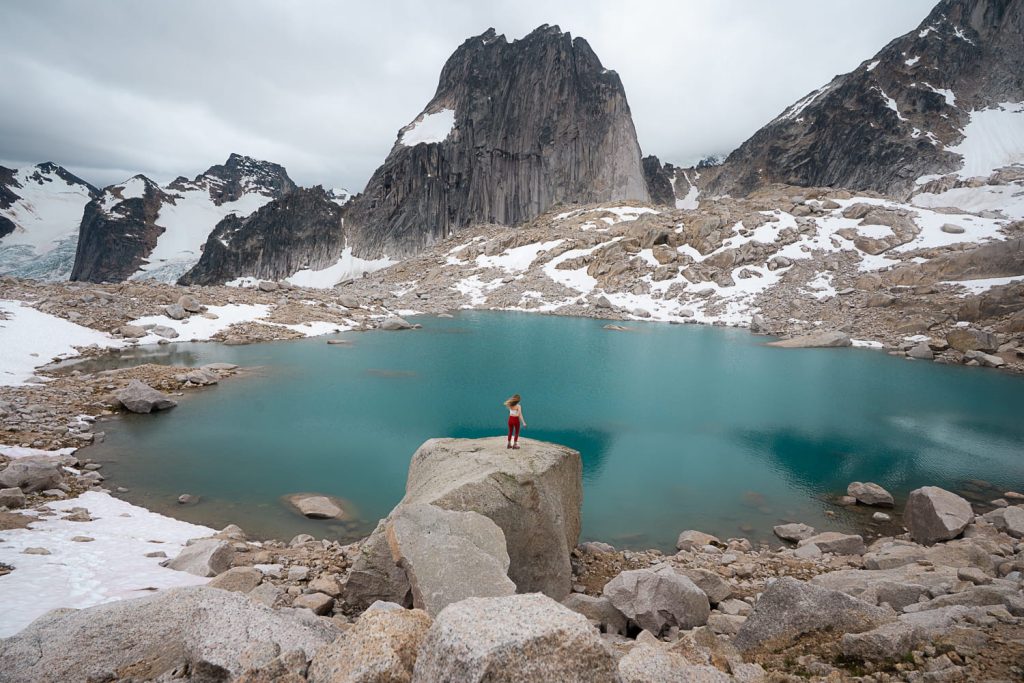
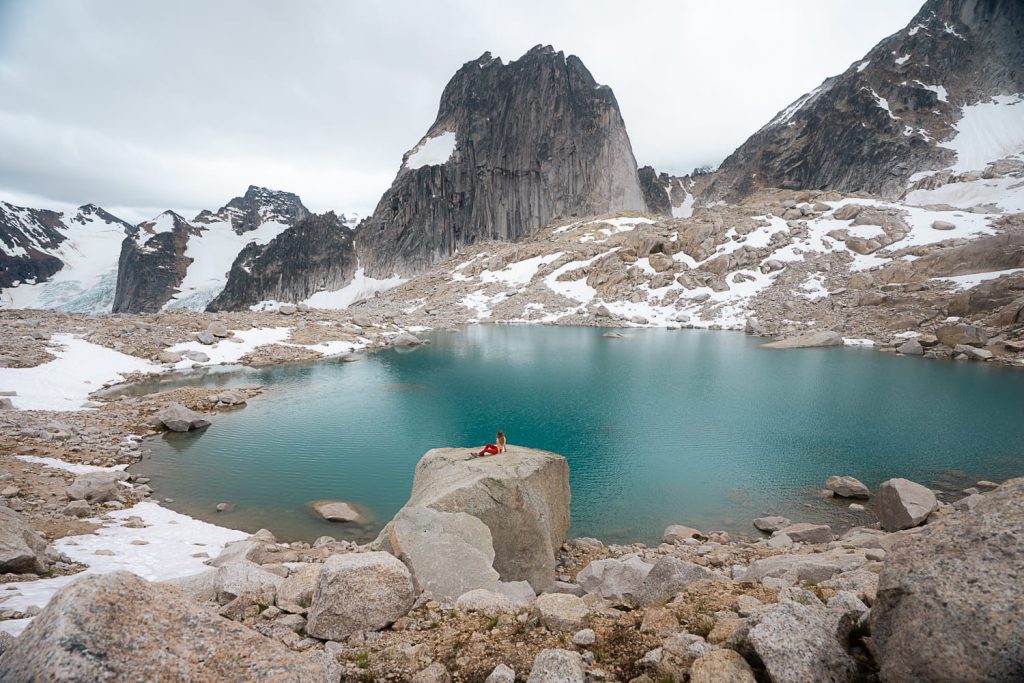
As if the views from the campground weren’t enough, you can walk a short 10 minutes further to a turquoise glacial lake.
Read on to find out everything you need to know about hiking the trail, including the rope and ladder sections, how to book the campground or Kain Hut and how to avoid porcupines eating your car’s tires.
Disclaimer: This post contains affiliate links that may earn us a small commission should you decide to click through and make a valid purchase (at no extra cost to you). Thanks so much for your support!
Everything You Need to Know About Kain Hut to Applebee Dome Campground
Maybe you are going out of your way and driving all of the way from Vancouver for a couple of days just to do this hike, or maybe you’re doing what we did and doing this hike on the way to Banff where you’ll be doing more incredible hikes like Egypt Lake and the Little Beehive.
Whatever your plan is, I can tell you that it is worth it for this trail! The views are stunning and I’m sure you’ll love it as much as I did.
Quick Tips for hiking to Applebee Campground
Where to stay the night before and after your hike:
Option 1: Golden BC (2 hours to the trailhead)
Option 2: Radium Hot Springs (1.5 hours to the trailhead)
Best time to hike: Summer or Fall!
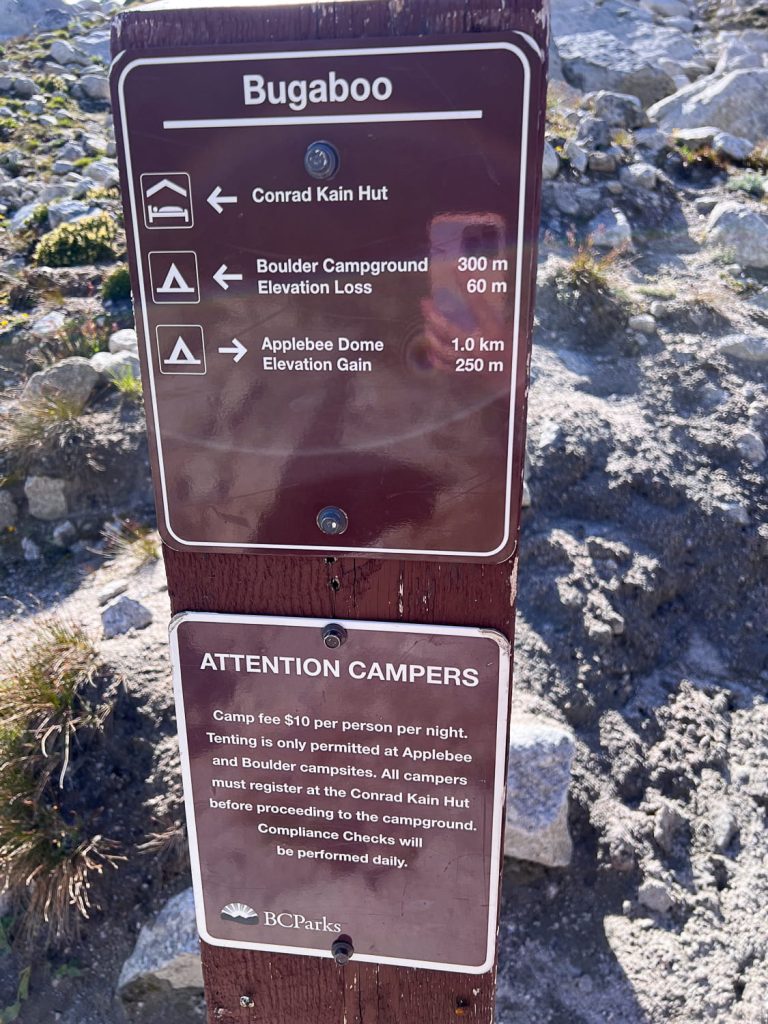
Passes / Permits: Camping permits are required through BC Parks.
Top Tip: After you reach the campground, you can go a little further to get to the lake. (It’s so worth it!)
Hike Stats
Distance: 9.8km/ 6.1 miles
Time: 3.5-5 hours to the campground one way
Elevation: 968m / 3,175ft
Dog Friendly: Not allowed
Toilets: At the parking lot and at the campground
The road to the trailhead: What type of vehicle do you need
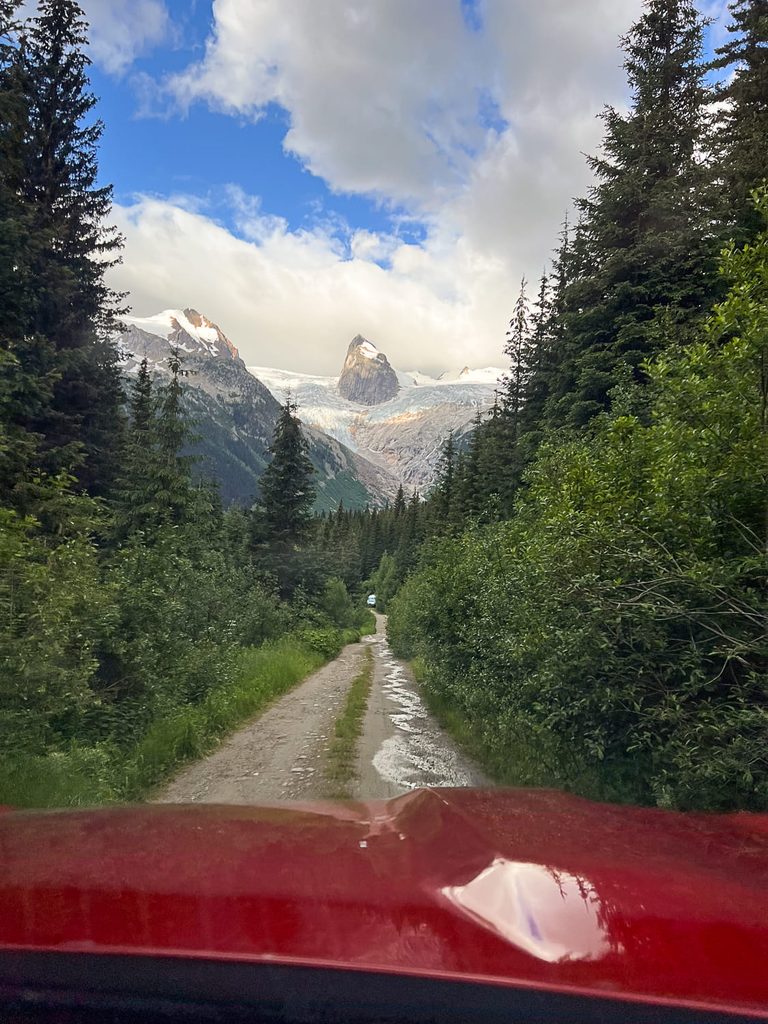
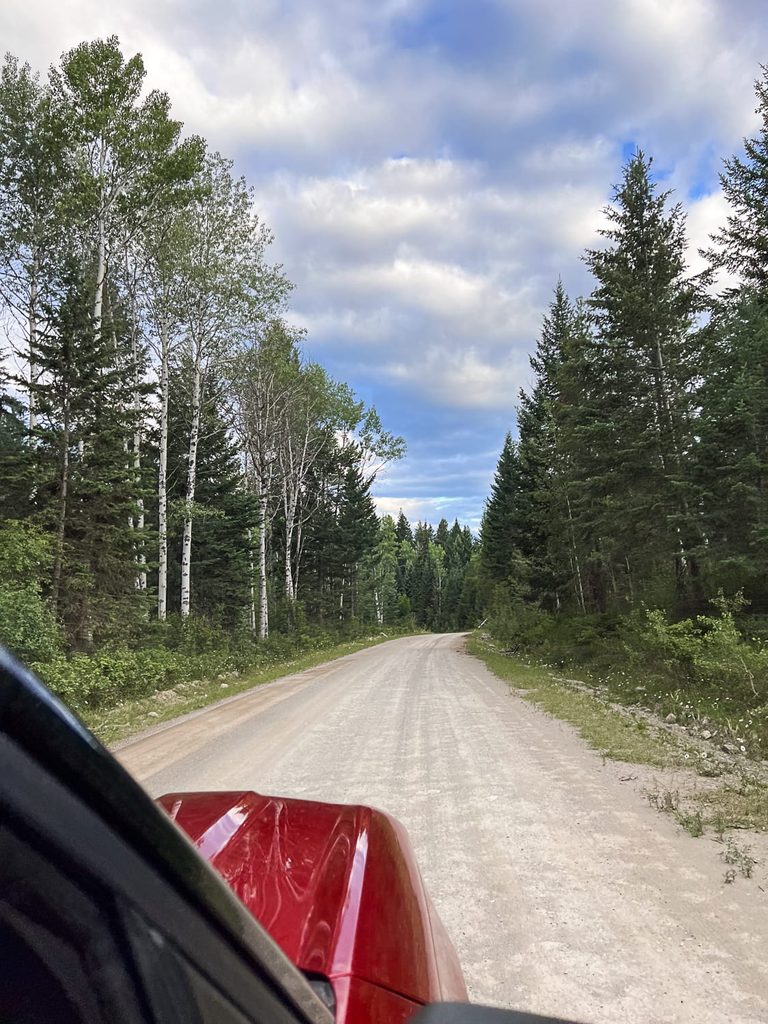
I drove this road in my Bronco Sport Badlands and had no issues. Once you leave the main road, the unpaved FSR takes around 1 hour until you reach the parking lot and it gets rougher the closer you get.
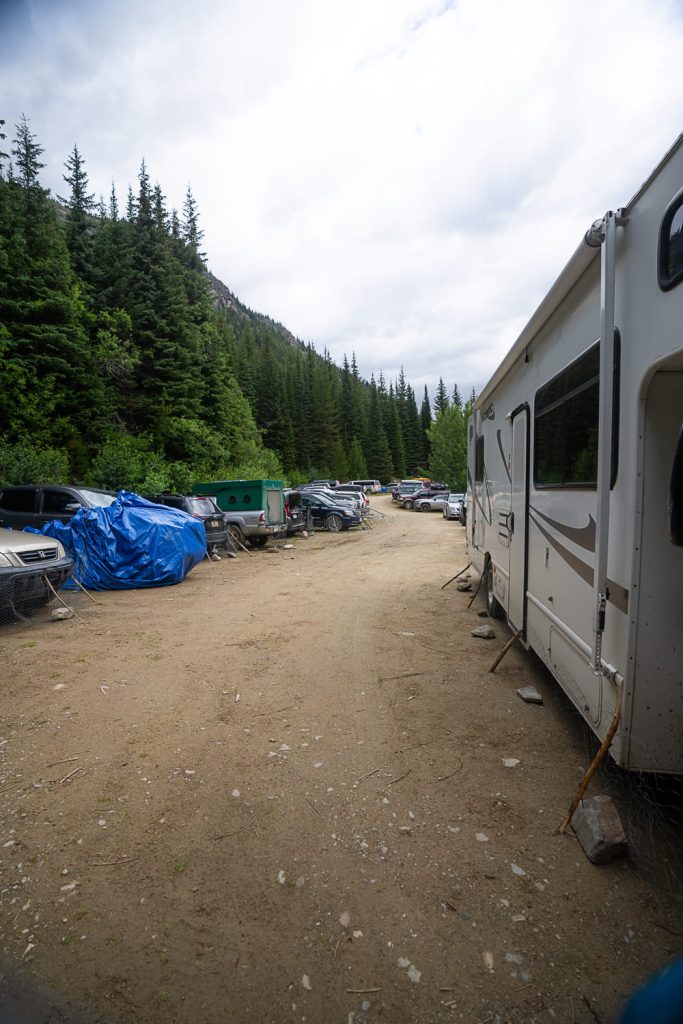
Even though the road was pretty rough and narrow at the end, to our shock, there were somehow enormous caravans parked in the parking lot. So I guess it’s possible to get there with pretty much any car? The road conditions will however, change from year to year.
How to get to the trailhead & where to park
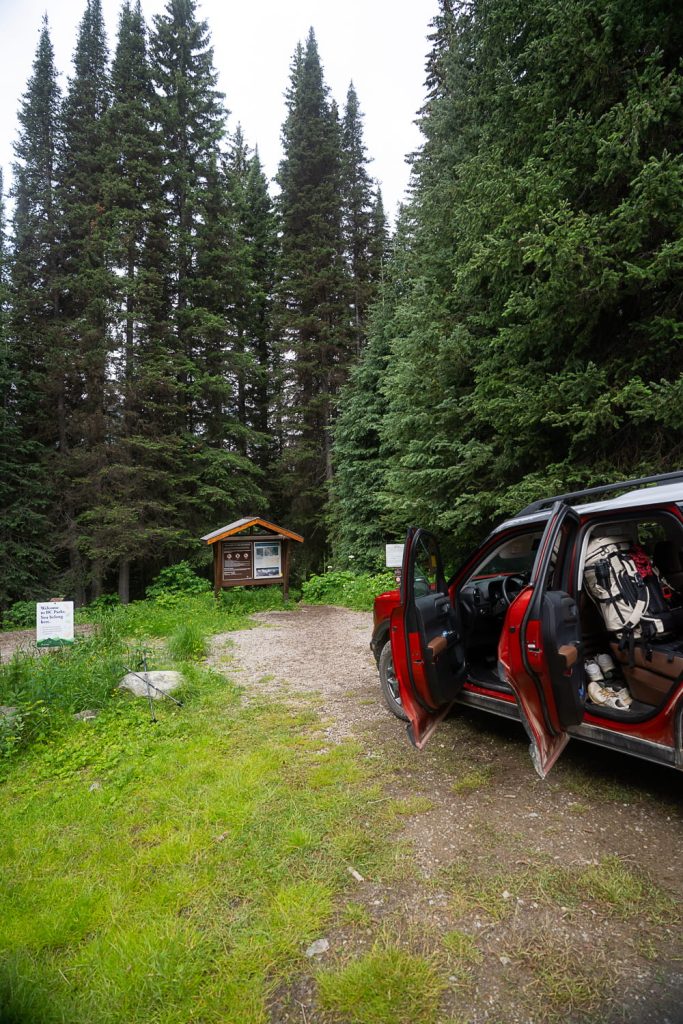
There is a dedicated parking lot for the Conrad Kain Hut to Applebee Dome Campground trail.
One thing you do need to be aware of before heading out here is….
The Tire Eating Porcupines
I’d never experienced anything like this until I hiked this trail but before I went, according to all of the information online, I need to go out and purchase a bunch of chicken wire to wrap around my car because there are pesky porcupines that tend to eat the tires and other parts of the cars parked in this lot.
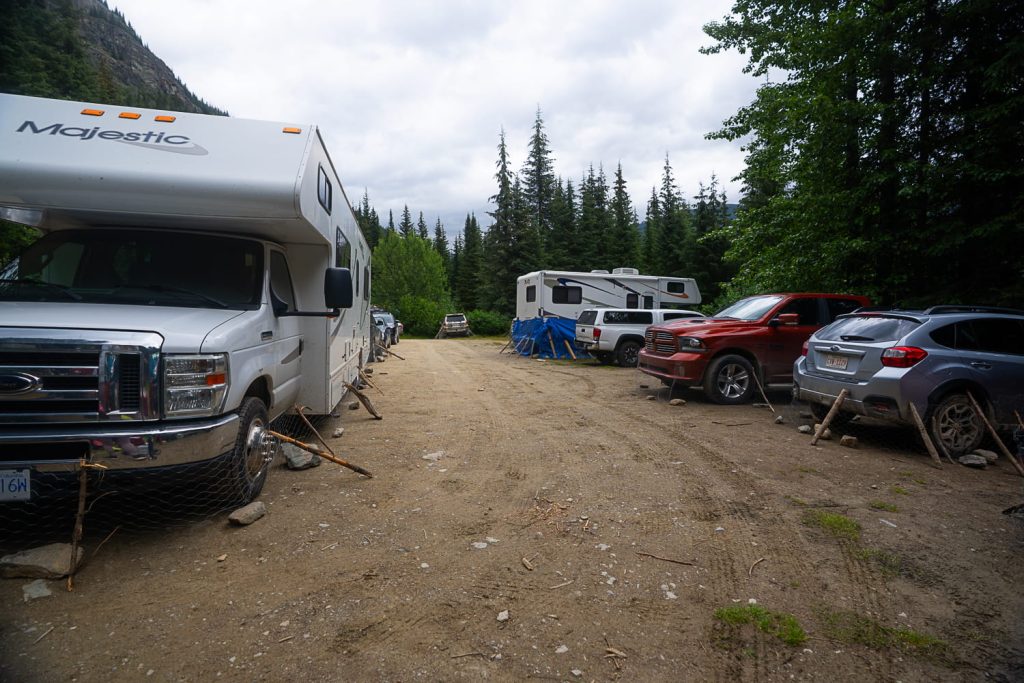
Of course, you can be lucky, not wrap your car and not have any issues. But I thought it was better to be safe rather than sorry.
Because of this, my friends and I took A LONG TIME to get ready at the trailhead. It was also very hard to find a parking spot because we arrived pretty early in the morning and I guess the backpackers from the night before hadn’t had a chance to get back to their cars yet.
There are signs that say to please not leave your chicken wire but loads of people were, so we might have been able to use someone else’s if we had waited long enough.
🐔 I got my chicken wire from Rona before I left home. I got 2 rolls of it which was enough.
There were also a couple of huge caravans. Not campervans but actual CARAVANS taking up multiple spots which was a little irritating.
At the trailhead, there is a drop toilet (bring your own toilet paper and hand sani).
Best time to hike to Applebee Dome Campground
The best time for this hike is definitely during summer or early fall because there can still be snow in Spring and then the snow will begin again later in fall.
Of course, you could also get snow in summer as this does sometimes happen.
👉 Tip: I recommend trying to get to the parking lot as early as possible in the morning to get a spot. To do this, you could stay in Golden or Radium Hot Springs the night before as these are the closest towns.
Hike difficulty & time
The hike to the campground definitely took my 2 girlfriends and I longer than the average hiker because we took our time to take photos along the way.
The average hiking time to the campground is around 3.5 to 5 hours one way. Once you reach the hut, it’s another hour to the campground which was probably the most brutal part of the hike for me because it felt like we should have been there but the uphill just kept going.
The Ropes and ladder sections
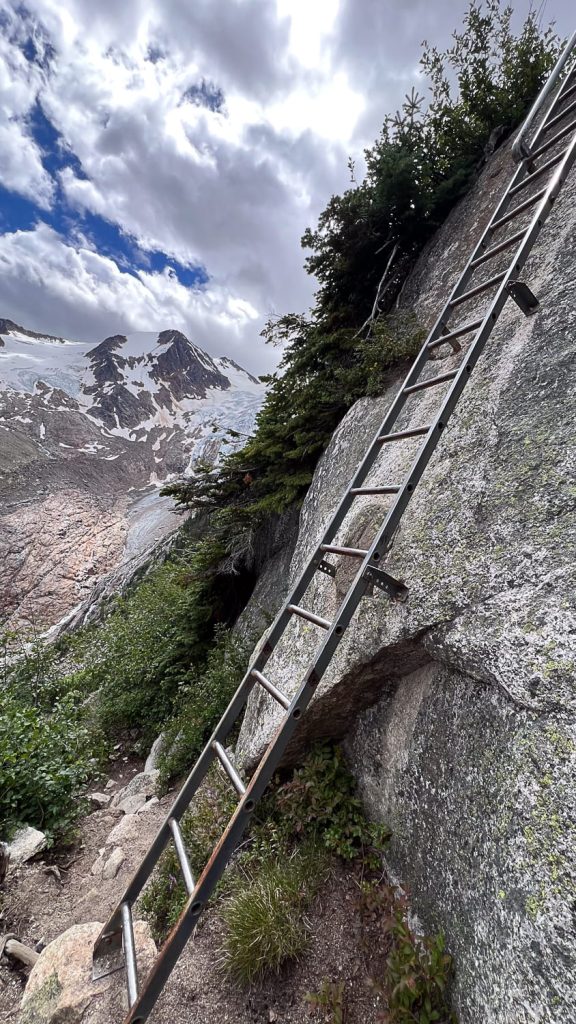
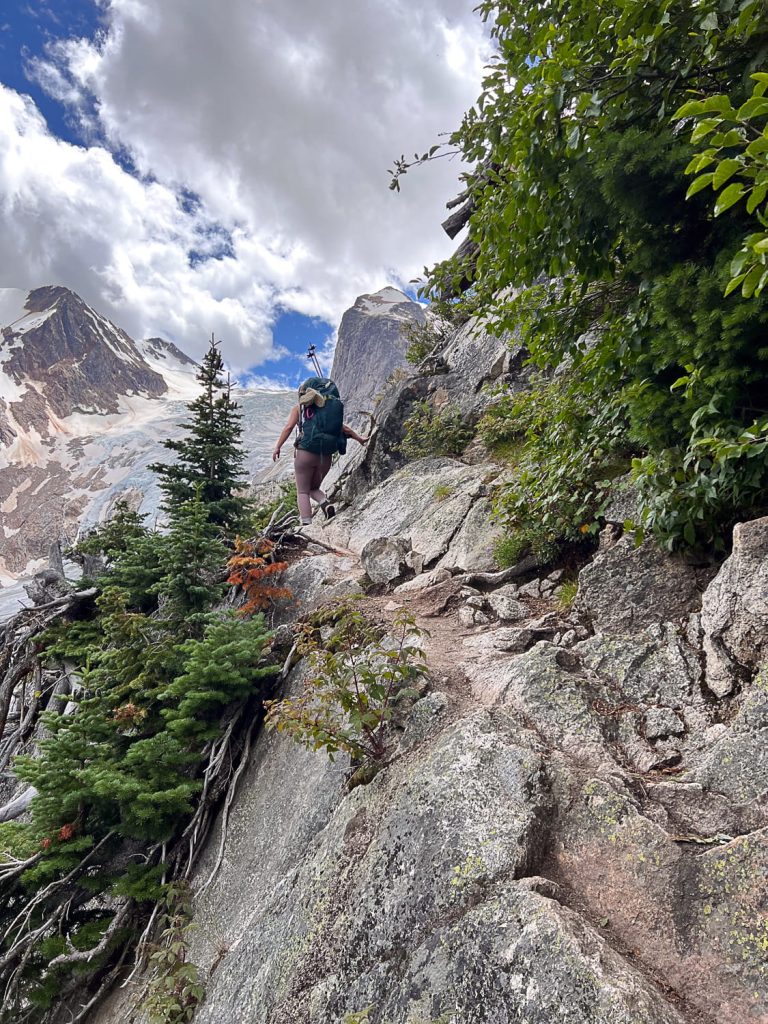
I was pretty worried about the rope sections and the ladders on this trail but it wasn’t as bad as I was expecting. Or maybe I’ve just had so many trails with obstacles like these that I’m finally getting used to them. It’s hard to say.
In saying that, if you are terrified of heights and ledges, then this may not be the best hike for you.
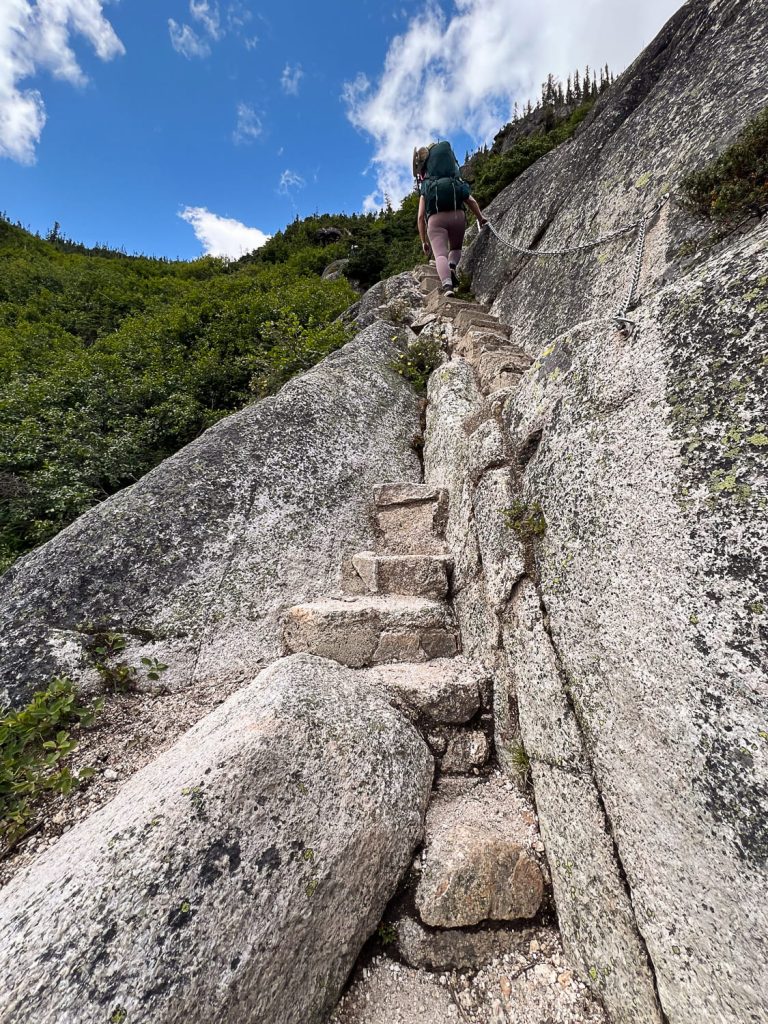
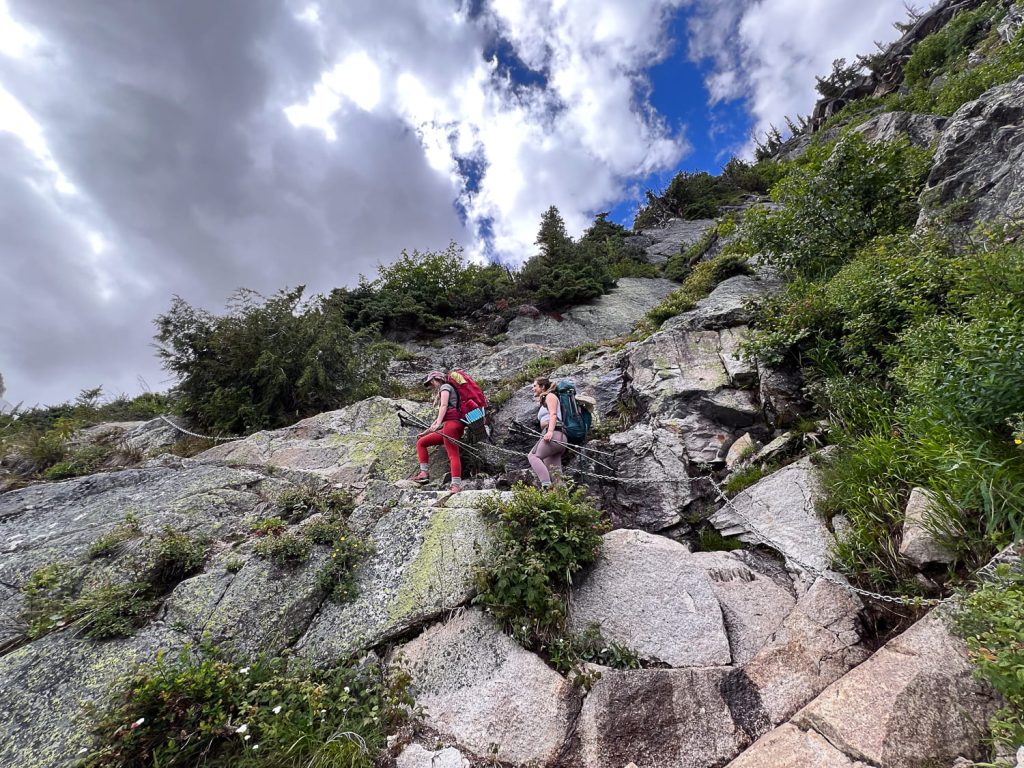
There is a fairly long ladder which takes you straight up a steep rockface, narrow pathways along a cliff edge where you hold onto a chain and a few more obstacles.
Dogs on the trail: yes or no?
Dogs are not allowed on this trail at all, even on leash, although we did see a couple of sneaky dog owners hiking with their four legged friends.
If you have a dog, just stick to the rules. I know it’s annoying having to find your dog something else to do but it’s not some park ranger trying to be petty. There are actual real reasons for not having dogs be allowed on this trail. Anyway, rant over.
If you are looking for a trail that you can do with your dog, there are plenty of other options.
Camping at Applebee Dome Campground
How to book (operating from Jun 26 – Sep 30)
To camp at Applebee Dome Campground, you do need a camping permit.
Head to BC Parks Reservations, click on Backcountry, Backcountry Registration and then choose Bugaboos as the park and Bugaboo Spires Trailhead as the trailhead.
If you scroll down a little, on your right-hand-side of the screen, there should be some information about which campgrounds you can camp in and Applebee Dome is one of them.
Permits can be reserved 2 weeks prior to the date that you want to stay.
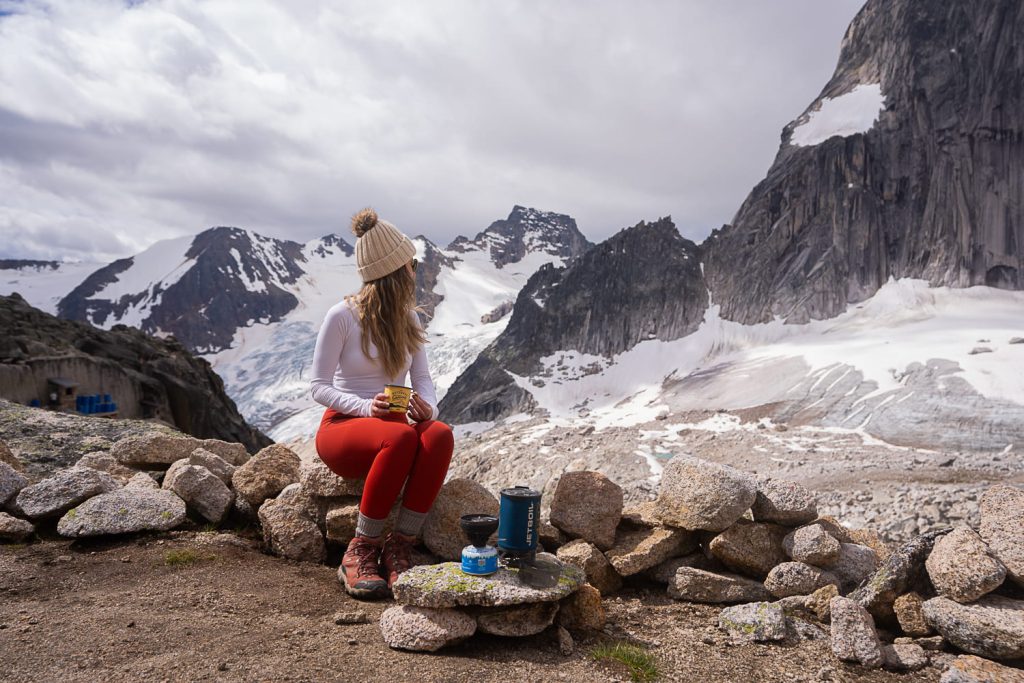
Facilities at the campground
- 2 x toilets – make sure you bring your own toilet paper
- Bear hangs and bear caches
- Water Spigot – make sure you still filter or boil your water.
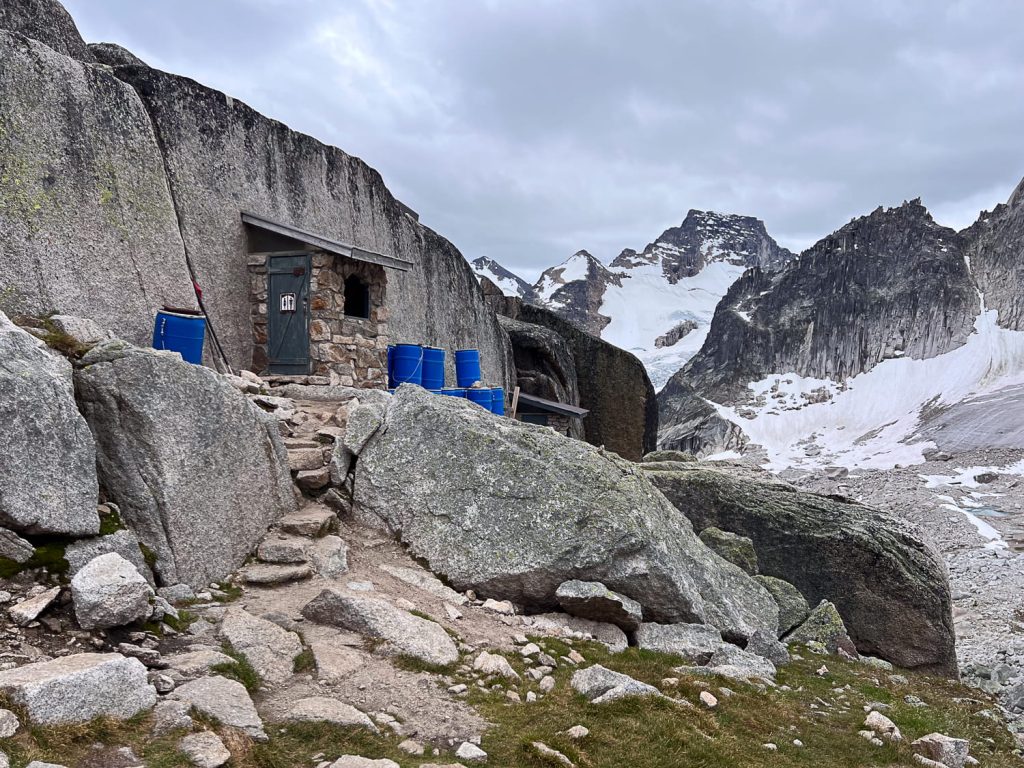
Where to filter water
There is a water spigot and filling station at Applebee Dome Campground which you should still filter or boil before drinking.
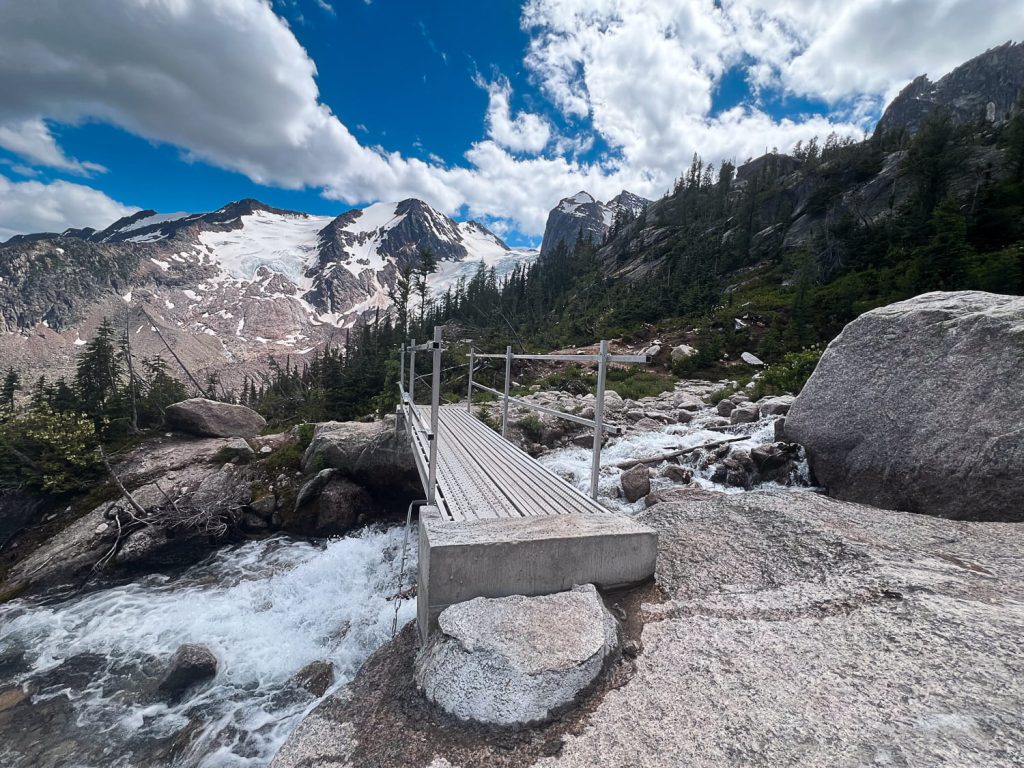
On the way up to the campground, there is a stream near the hut. You’ll see it as you cross a bridge and the trail opens up to a wider alpine area. We filtered water here on the hike up to the campground.
How to book Conrad Kain Hut
The Conrad Kain Hut is through a different booking system to the campground. You’ll need to go through the Alpine Club. It’s 4.6km and 700m elevation gain into the hike and comes with the following:
- Max Capacity: 35
- Heat Source: Electric Heater
- Light Source: Electric
- Stove: Propane – Provided
- Bedding: Mattress
- Water Source: Creek
- Bathroom: Outhouse
I’ve never stayed in a hut but now that I’m reading about this one I’m thinking that maybe I should?
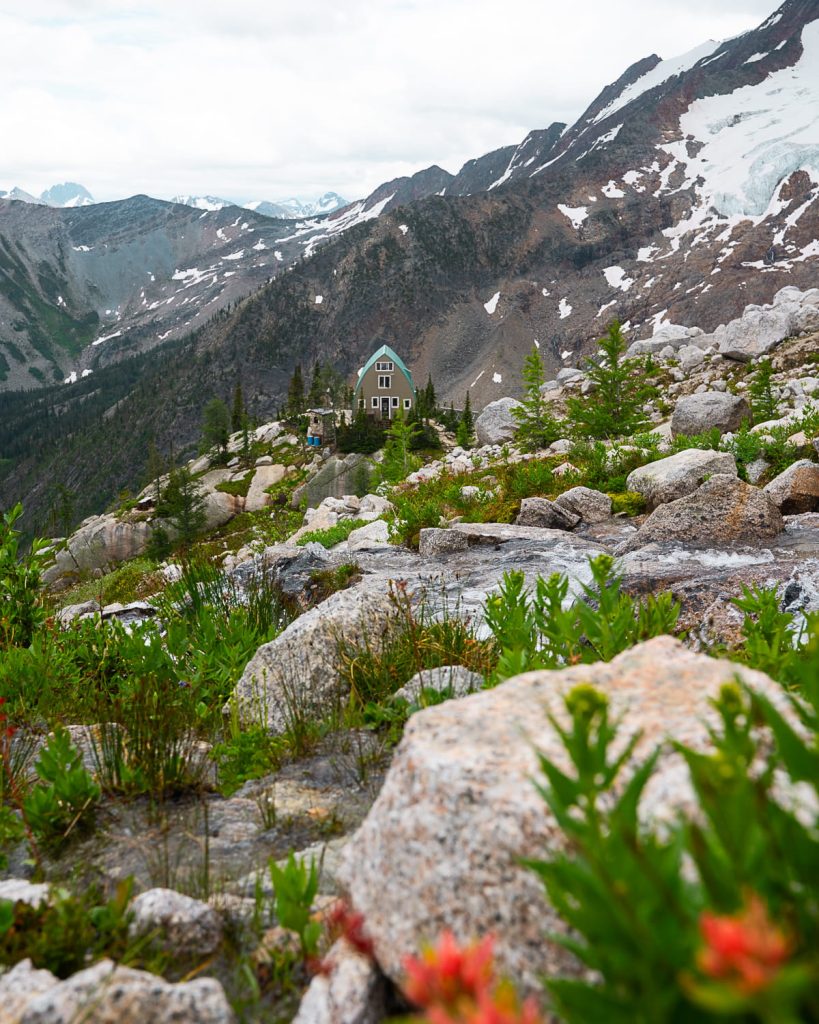
Is camping worth it?
Just because there is a permit system in place, doesn’t mean you will have the entire campground to yourself. This was, in fact, one of the busiest backcountry campgrounds I have ever camped at. I’m not sure what their number of tents limit is in the reservation system, but it must be quite a lot.
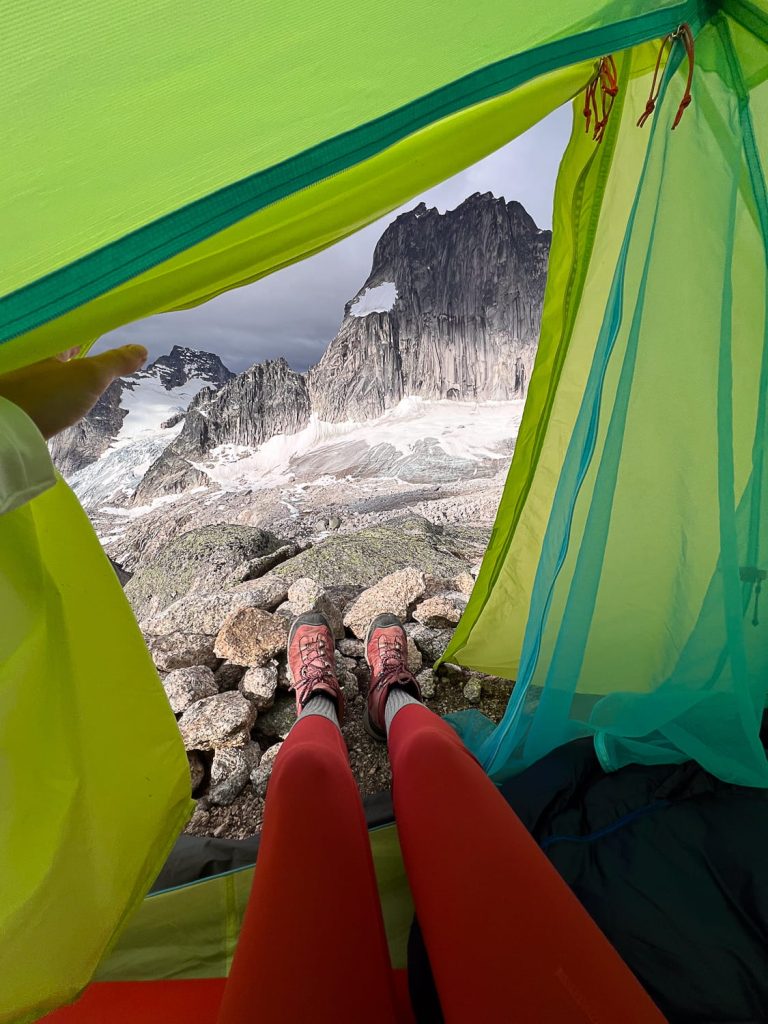
In saying that, it was still an absolutely incredible experience. The campsite is set on a bare rock slabs with amazing views of the surrounding mountains and the massive granite spires and glacier. Being able to enjoy both sunset and sunrise here makes staying so worth it.
So yes, I think it is definitely worth camping at Applebee Dome Campground and I’ll definitely be going back and doing it again with Dave some day.
The Trail to Applebee Campground
Starting the trail
Once you’ve dealt with the fuss of wrapping your car in chicken wire, it’s finally time to start the trail. The trail starts by taking you through the forest. When I was there, there were a few muddy sections along this part of the trail.
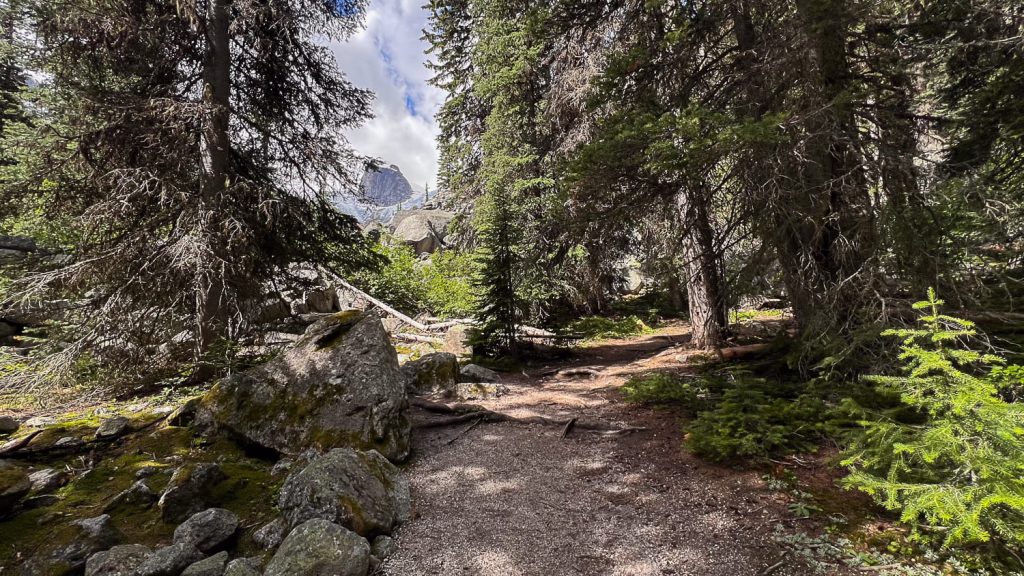
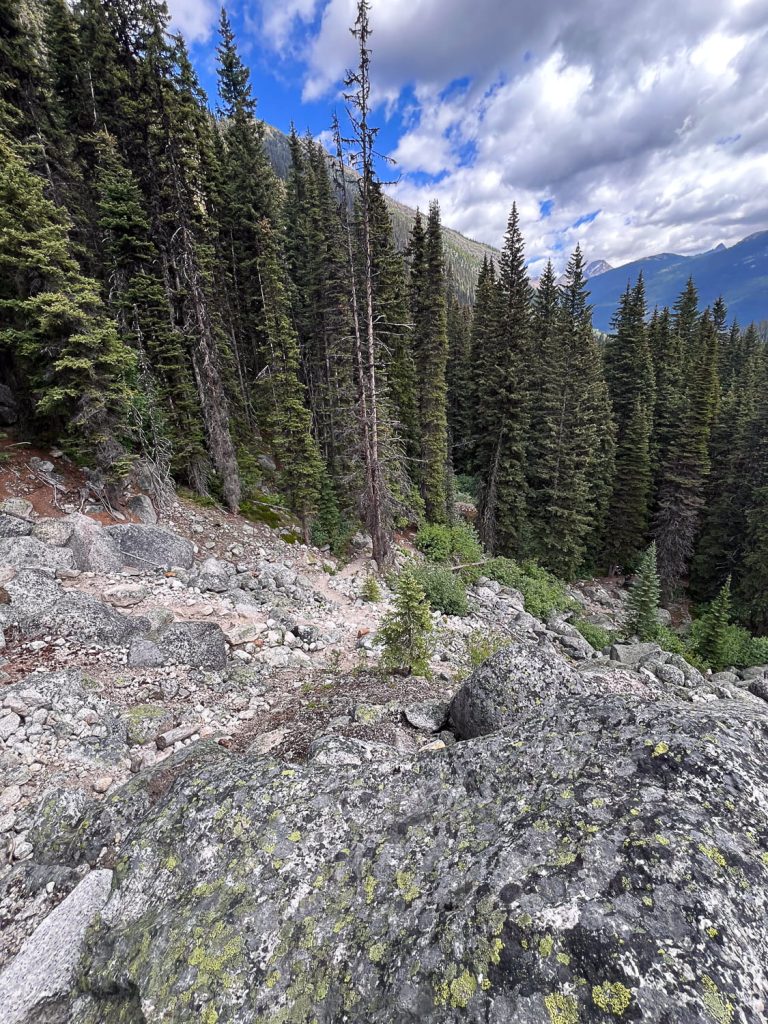
After not too long, you’ll come to a small and short boulder field section.
There were some hikers up ahead of us who were messing around off trail and while we were hiking up, we hear them shout “HEADS.” I look up to see a huge boulder bouncing down towards us. We all try to jump out of the way but it was so hard to figure out which way the boulder was going to go and I timed it wrong.
It hit me right in the knee which was agonising.
My friends and I got out of the way of any further falling rocks and sat down for a bit. I was fine but ended up with a pretty nasty bruise and a swollen knee.
Make sure you are very careful on these kinds of trail sections because this sort of a silly accident can literally kill someone if it hits them in the head. I was pretty shaken up thinking about how much worse it could have been.
The rope/chain sections
There are a couple of chain sections and 1 pretty decent ladder climb. I didn’t find them too hard but the big backpacking bag made the narrow cliffy sections a little scarier.
Reaching Kain Hut
I remember feeling pretty excited when I saw the hut because I thought that meant that we were almost at the campground. Man was I wrong! There’s only 1km left to the campground from the hut but it’s pretty steep.
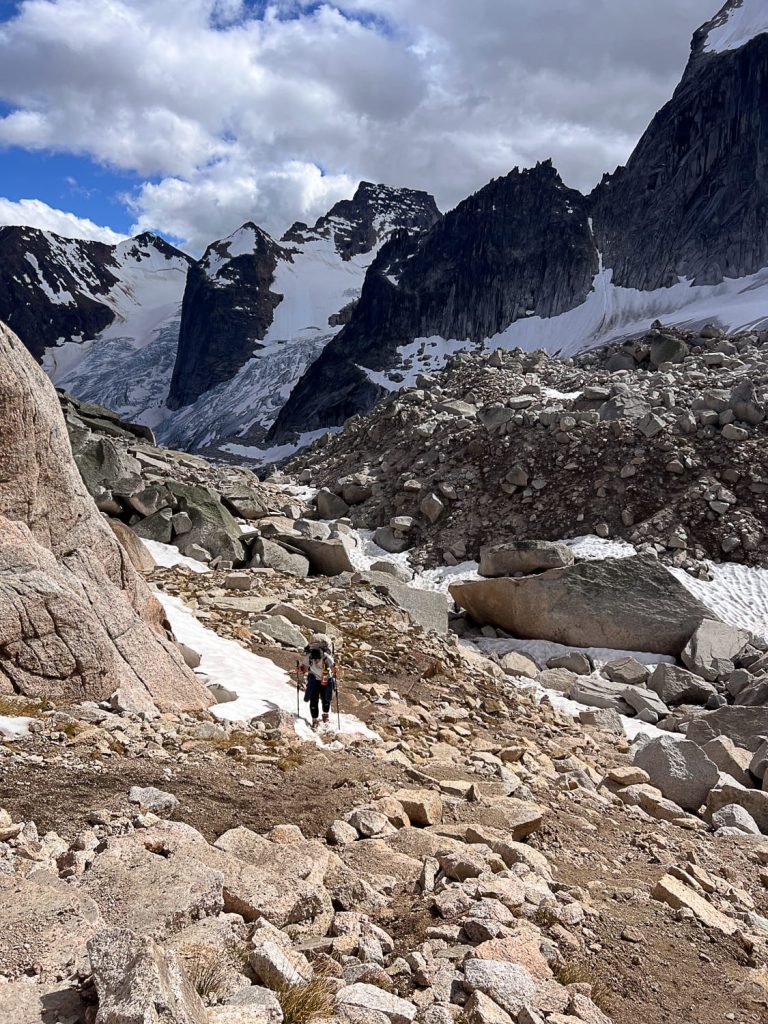
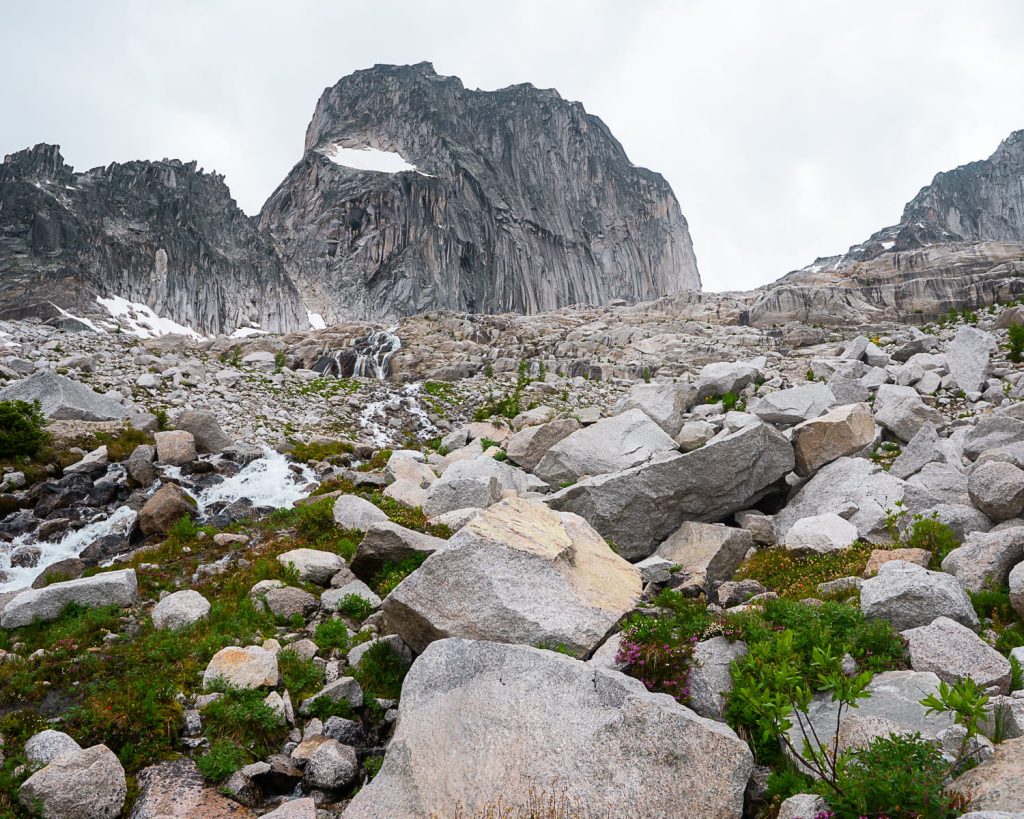
After Kain Hut, you have to navigate your way through a boulder field. There is a pretty decent trail through the field for most of it.
Kain Hut to Applebee Campground
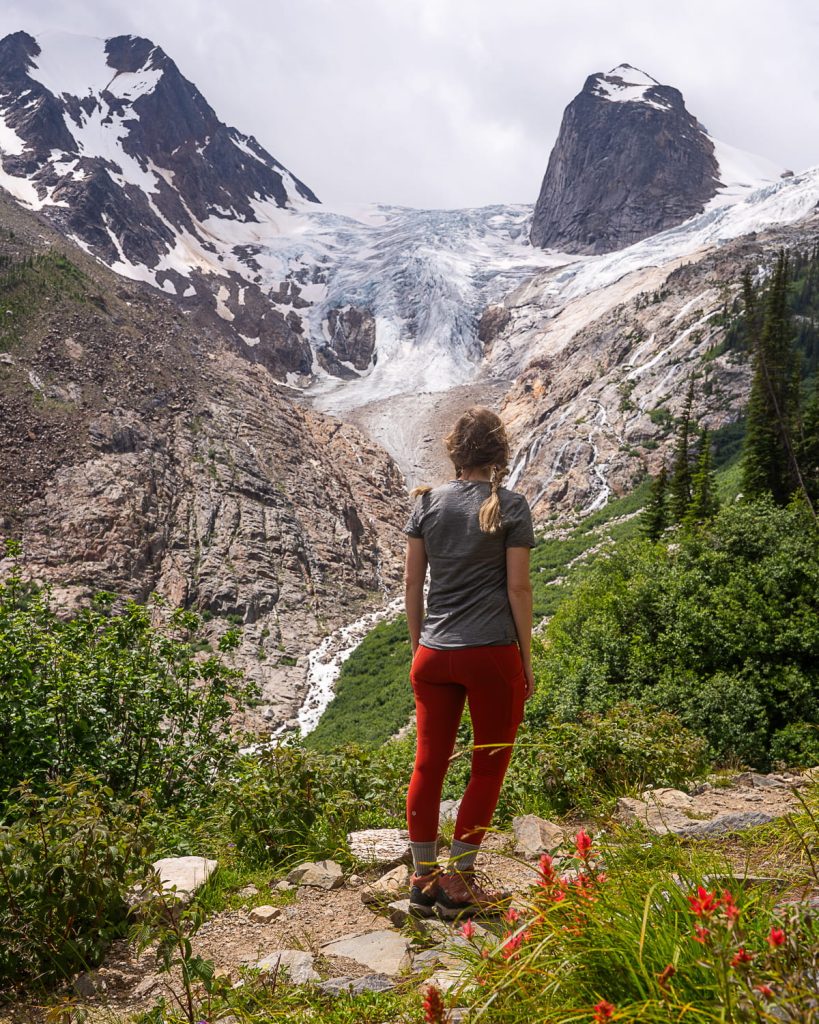
The hike from Kain Hut to Applebee Dome Campground definitely feels like the longest section of the entire hike. I think this is because I thought we were almost there when we reached the hut but the trail just seemed to keep on going and going.
This section of the hike is also fairly steep, especially the last little push up to the campground. But don’t worry! It’s all worth it once you get there!
The unnamed glacial lake
Just past the campground, you’ll find a gorgeous blue lake which, it seems, has no name! It’s worth checking out though because it’s only about a 10 minute walk from the campground. The girls and I went to the lake a couple of times to take some photos because it was just so pretty!
If you’re a fan of backpacking trips, be sure to check these out:
- How to Backpack to the Stunning Egypt Lake in Banff National Park
- Best Hikes Near Squamish (including Easy Trails)
- Beautiful and Easy Hikes Near Vancouver
- Best Day Hikes in Vancouver
- Beautiful Overnight Hikes Near Vancouver
- An Epic 2 Day Vancouver Travel Itinerary: Breweries, Waterfalls, Sunsets
📌 Like it? Pin it!