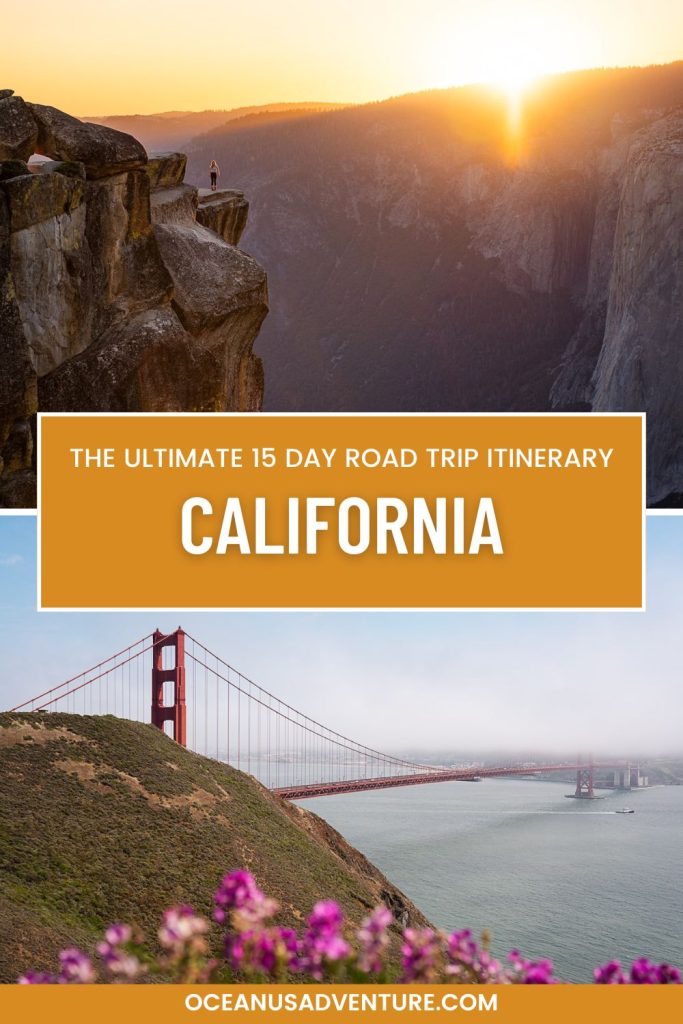
Ultimate 15 Day California Road Trip Itinerary (Yosemite, Lake Tahoe, Big Sur & More!)
California BLEW OUR MINDS on this road trip! We never realised how many different climates and landscapes one state could have! On this 2 week California road trip, you will see incredible mountains, waterfalls and valleys, the clearest lakes, gorgeous coastlines, hopefully some elephant seals and other sea-life and the LARGEST trees in the world. Yes the world!

Dave and I spent 15 days travelling through California in a minivan converted into a campervan from the end of June – mid July 2024 and we would do it again in a heart beat.
This 15 day California road trip itinerary has all the information you need to plan your own incredible road trip, including where to stay, what to do and see each day and where to eat. I might have even provided you with TOO MUCH INFORMATION in this guide, so feel free to ignore things like where we got our groceries from etc as there are loads of options. 😅

Disclaimer: This post contains affiliate links that may earn us a small commission should you decide to click through and make a valid purchase (at no extra cost to you). Thanks so much for your support!
Planning Your 15 Day California Itinerary
📍 Where are we going: Yosemite, Sequoia, Lake Tahoe, Big Sur, Point Reyes, San Francisco
✈ Where to Fly into: San Francisco International Airport (SFO) – Find FLIGHTS here!
📆 When to Visit: Best time to visit for this itinerary is late Spring / Summer / early Fall
🚗 Rental Car: KAYAK usually has the best rental car prices!
🚐 Rental Campervan: Rent a campervan from Avanti!
Pre Trip Checklist
🛫 Where will the trip start and end
You will start and end your trip in San Francisco. The map below shows everywhere we went, including tips on where to get your groceries from along the way.
Click here to open the map in Google Maps!
How to get to San Francisco
We flew into San Francisco International Airport (SFO) which was a 2.5 hour flight from Vancouver. If you are coming from somewhere in the USA, a Greyhound Bus is a great cheaper option. I used these buses a lot when I solo travelled the US back in 2012.
⛺ How will you travel (hotels or camping)
When Dave and I did this road trip, we road tripped using Avanti Campervans which was an incredible experience. It was so awesome to be able to set up for the night and have our entire little home on wheels with us.
If you don’t feel like camping on this road trip (I know I know, it can be extremely exhausting), or would like to do a mix of camping and hotel stays, I have included a recommend hotel / cabin for each day.
⛺ Tip: We used The Dyrt’s Pro Subscription to find free campsites throughout California.
Everything you need to know about Avanti Campervans
What does the campervan include
Avanti’s Campervans are all either Dodge Caravans or Chrysler Pacificas. Our van was a new Chrysler Pacifica and it was lovely to drive. The vans include the following so that all you really need to do is go grocery shopping and you are ready to go! Oh we also bought a couple of reusable coffee cups, along with our Moka Pot from home so that we could make coffee in the van’s kitchen.
Bedding
- 48″ x 72″ (123cm x 183cm) bed with memory foam mattress
- Fresh linens
- Comforter
- Two pillows
- Window covers for complete darkness – these were a game changer!
- Privacy curtain to block out the light from the front seats
Cooking and Camping
- Gas stove
- Pan
- Pot
- Plates
- Cups
- Silverware
- Can opener
- Bottle opener
- Cutting board
- Shade canopy
- Two folding chairs
- Folding table (unless you get the van with the new kitchen pullout)
- Camp shower
- 25-28 quart cooler (Ice box)
- Two towels
Picking up your campervan
Avanti has slightly different pick up methods for each of their locations but essentially it is a self service pick up. A day or so before your trip, you will get an email with instructions on where to find your van and how to get the keys. Our pick up place was not too far from the airport and we were able to easily catch a bus there.
📆 What time of the year to do this Road Trip
We did this road trip in Summer from the 29th June until the 13th July but you could also do it in late Spring or Fall. Summer brought some pretty crazy heat to our trip which I don’t think either of us were expecting, but it also made jumping in all of the rivers and lakes that we could find so much fun!
👚 What to pack
- Day backpack
- t-shirts
- shorts
- leggings
- jeans
- Swim Suit
- fleece
- casual jumper
- Bug Spray
- Camera!
- Tevas
- Flip flops
- Hiking boots or trail runners
- Summer dress
- Trackies for van life pjs
- Bug Spray
- Sunscreen
- Hat
ℹ Things to know before you go
- California has what is called Micro-climates. This means that it can be super hot (45 degrees c / 113 degrees f) in one area and can drop to lower temperatures (14 degrees c / 57 degrees f) in another. You don’t even need to travel too far to experience this.
- Pick up a National Parks Pass before your trip.
- Follow the 7 Leave No Trace principles and leave every location you visit better than you found it.
- If you are coming from another country, I recommend getting an Airalo e-sim to stay connected while on the road!
🎟 National Parks Passes
For this road trip, I recommend getting the America the Beautiful National Parks Pass. You will need this for Yosemite National Park and Sequoia National Park.
🎫 Yosemite Entrance Reservations
A reservation is required to enter Yosemite National Park during certain times throughout the year. The cost to reserve is only $2 per day and you can do so at recreation.gov.
You will find the specific dates below for 2024.
A reservation is required to drive into or through Yosemite National Park on some days from April 13 through October 27, 2024, for those driving into the park between 5 am and 4 pm as follows:
April 13 through June 30: A reservation is required from 5 am to 4 pm on Saturdays, Sundays, and on holidays (May 27 and June 19). A reservation is not required on other days.
July 1 through August 16: A reservation is required from 5 am to 4 pm every day.
August 17 through October 27: A reservation is required from 5 am to 4 pm on Saturdays, Sundays, and holidays (September 2 and October 14). A reservation is not required on other days.
Itinerary Summary & Map
You’re probably dying to know where you will be going on this insanely epic road trip. Well here you go!
Day 1 – Yosemite
- Arrive in San Francisco
- Grocery shopping
- Drive to Yosemite
- Sunset in Yosemite
Day 2 – Yosemite
- Glacier Point Road
- Vernal Falls
- Bridal Veil Falls
- Taft Point
Day 3 – Yosemite
- Upper Yosemite Falls
- Lower Yosemite Falls
- Cooks Meadow
- Tunnel View
Day 4 – Yosemite
- Glacier Point
- Mirror Lake
- River Rafting
Day 5 – Drive to Sequoia
- Grocery shopping
- Drive to Sequoia National Park
- Sunset at Moro Rock
Day 6 – Sequoia
Day 7 – Drive to Big Sur
- Carmel by the Sea
- Sunset at The Lone Cypress
Day 8 – Big Sur
- Big Sur Drive with short hikes and viewpoints along the way
Day 9 – Drive to Lake Tahoe
- Do laundry
- Dinner in town
Day 10 – Lake Tahoe
- Paddle boarding at Secret Cove or Sand Harbour
- Bonsai Rock
- Sunset at Cave Rock
Day 11 – Lake Tahoe
- Clear Kayak Tour
- Hire e-bikes
- Sunset hike to Monkey Rock
Day 12 – Drive to Point Reyes
- Grocery shopping
- Drive to Point Reyes
- Sunset at South Beach Overlook
Day 13 – Point Reyes
- Cypress Tree Tunnel
- Point Reyes Lighthouse
- Chimney Rock
- Drakes Beach
- Tomales Point
- Point Reyes Shipwreck
- Sunset at Mount Tamalpais
Day 14 – San Francisco
- Check out the Golden Gate Bridge viewpoints
- Hike down to Marshall’s Beach
- Lunch in Sausalito
Day 15 – Flight home
- Return van
- Start your trip home
15 Day California Road Trip Itinerary
Day 1 – Drive to Yosemite National Park
Where to stay: Camping: Wawona, Upper Pines, Lower Pines or North Pines
Hotel: Yosemite Valley Lodge or The Ahwahnee
Arrive in San Francisco and grocery shopping
Once you have arrived in San Fran and picked up your car or campervan, it’s time to go grocery shopping! There are loads of Safeways and Walmarts along the way, so just choose one along your route in google maps.
For your first shop, I recommend buying about 4 days worth of groceries to get you through the Yosemite portion of your trip. You can stock up again on the way to Sequoia National Park.
Tips
If you have more time in San Francisco, use this 1 Day Itinerary to plan your day!
Drive to Yosemite
The entire drive from San Francisco International Airport to Glacier Point is 4.5 hours. Depending on how much time you have, you may want to switch Glacier Point around with day 3’s sunset spot at Tunnel view because it is closer to the campgrounds and hotels (unless you stay in Wawona campground).
We stayed in Wawona and ended up doing a hell of a lot of driving back and forth so I would try to get any of the others if you are planning on camping.
Sunset at Glacier Point

Glacier Point is only an 800m / 2,624 ft walk from the parking lot to the viewpoint. It will take you around 15 minutes return. The view is amazing, especially at sunrise and sunset. From Glacier Point, you can see Yosemite Valley, Half Dome and Yosemite Falls.
We had planned to spend our first sunset there but we actually missed out flight and so didn’t get there in time. Instead, we watched sunrise from Glacier Point which was beautiful as well.
Day 2 – Yosemite National Park
Where to stay: Same as day 1
Sunrise at Glacier Point Road
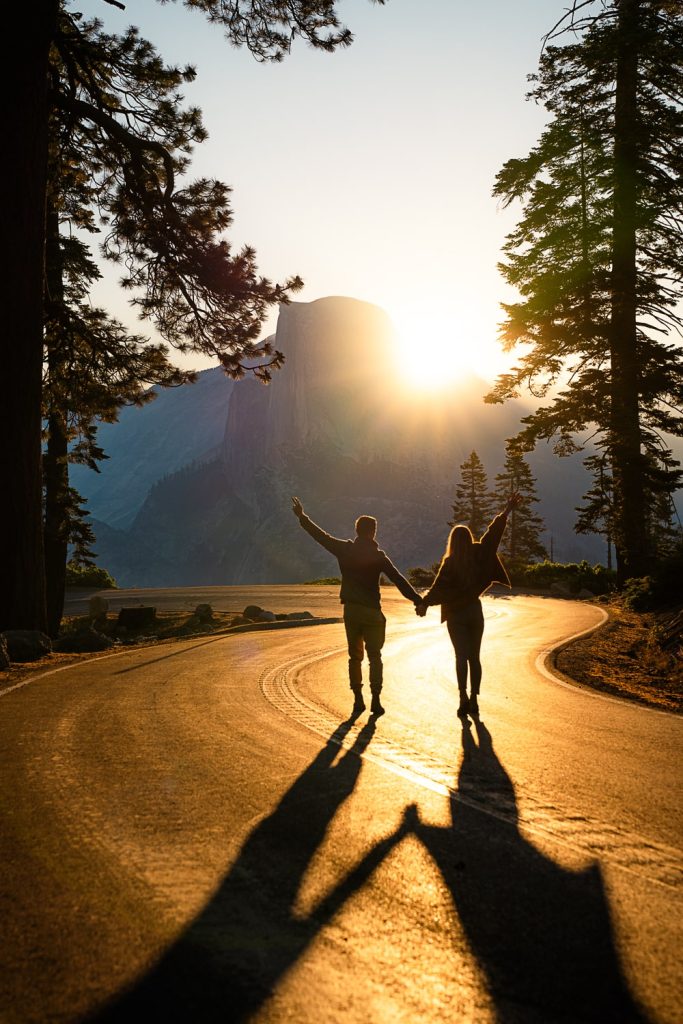
Glacier Point Road is the road leading to Glacier Point and you might be surprised but it is a really great spot for photos. During Summer, the sun rises from behind Half Dome. We parked in the Glacier Point parking lot and walked up to the road viewpoint which you can find marked on the map in this guide.
Late morning – Hike to Vernal Falls
Distance: 5km / 3.1 miles | Elevation: 345m / 1,131 ft | Time: 2-2.5 hours
Bring snacks and lunch on this trail. If you visit Yosemite during Summer and want to do the Vernal Falls hike, don’t make the same mistake we did and just drive straight to the trailhead. After sunrise at Glacier Point Road, we had a long nap in our car because well we’d just got up for sunrise and were tired.. and then tried to drive to the trailhead.
BIG MISTAKE. Vernal Falls is a 1 hour drive from the Glacier Point parking lot and it is an extremely popular hike.
The parking lot was full and completely closed when we got close so we unfortunately missed out on Vernal Falls. Don’t worry, we will be back!
If you want to hike further, you can extend your hike and do the whole Mist Trail to Nevada Falls. This would make the hike 9.7km / 6 miles with an elevation gain of 792m / 2,600 ft.
Afternoon – Hike to Bridalveil Falls
Distance: 1.3km / 0.8 miles | Elevation: 35m / 114 ft | Time: 20-30 minutes

Bridalveil Falls is a beautiful waterfall that you see pretty quickly when driving through Yosemite Valley and it’s definitely worth seeing up close.
Sunset Taft Point (hike)
Distance: 3.7km / 2.3 miles | Elevation: 108m / 354 ft | Time: 1-1.5 hours
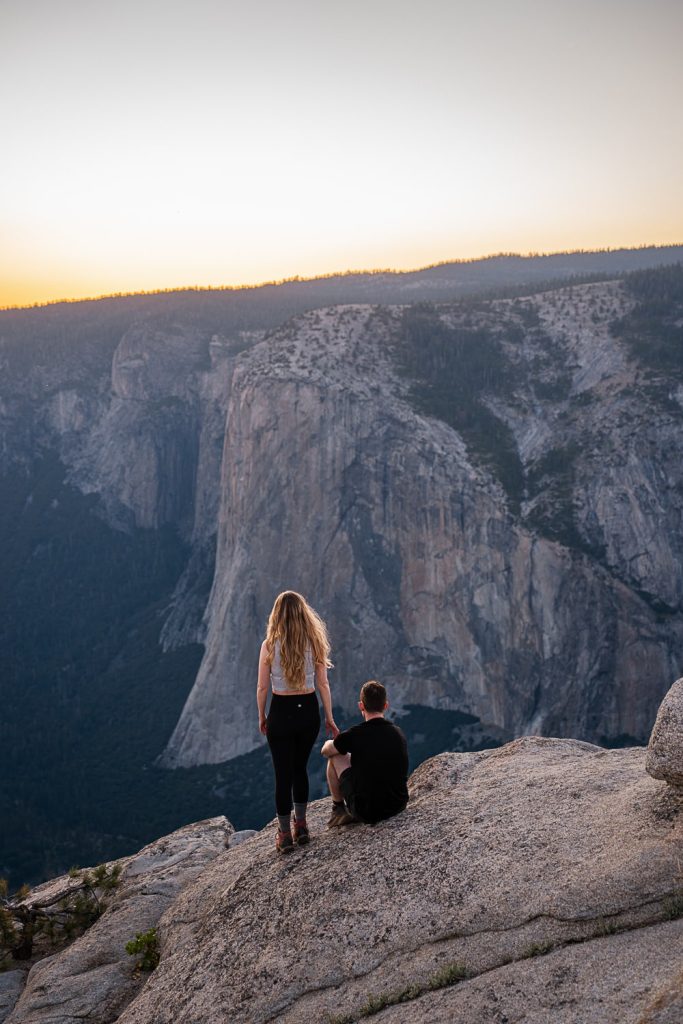
Okay both Dave and I LOVED Taft Point! So much that we went back twice! Yes, you read that right, we did the same sunset hike and hiked back in the dark twice. So if you cut anything out of this itinerary, make sure it’s not Taft Point!
The hike takes you through the forest to a granite rock viewpoint where you will find fissures in the rocks. From the Taft Point viewpoint, you will be able to see Yosemite Valley, El Capitan and Yosemite Falls.
👀 Read about how we hiked to Taft Point for sunset twice!
Day 3 – Yosemite National Park
Where to stay: Same as day 1 & 2
Morning – Upper Yosemite Falls Hike
Distance: 10.6km / 6.6 miles | Elevation: 992m / 3,254 ft | Time: 5-6 hours

Okay so we only did half of the Upper Yosemite Falls hike up to Oh My Gosh viewpoint because we started way too late in the day and it got WAY too hot. The trail is pretty steep. It’s literally uphill the entire way. Make sure you bring plenty of food (lunch and snacks) and water, sunscreen and a hat for this hike.
Oh My Gosh viewpoint gives you a lower down view of Upper Yosemite Falls and then the main viewpoint will actually give you a view from above the Upper Falls. From what I’ve heard, Vernal Falls is a more bang for your buck hike over this one so if you are trying to choose between the Upper Yosemite Falls and Vernal Falls, I would recommend Vernal Falls.
Afternoon – Lower Yosemite Falls
Distance: 1.9km / 1.2 miles | Elevation: 17m / 55 ft | Time: 25-30 minutes

Lower Yosemite Falls is way more relaxing than the Upper Falls Trail. It is wheelchair and stroller accessible and dog friendly so perfect for the whole family.
Late afternoon – Cooks Meadow Boardwalk

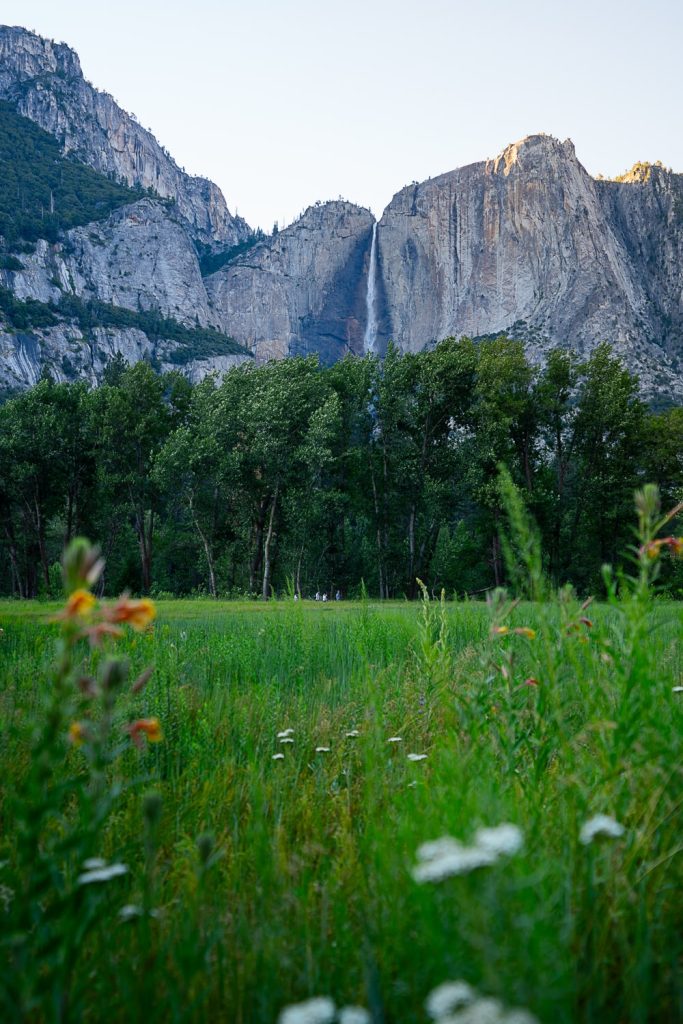
You can choose to walk around the whole Cooks Meadow Loop, or just get a nice photo on the board walk because it is a really great photo spot and I’m sure you are probably all hiked out for the day.
Sunset at Tunnel View

Tunnel View is one of the best viewpoints in Yosemite National Park! It requires no hiking. You can just pull over and park in the parking lot. We ate our dinner here while watching the sunset which was perfect. The reason Tunnel View is called “Tunnel View” is because on your way into Yosemite, Tunnel View comes into view right after you exit a tunnel. It is a pretty dramatic first look at the park!
Day 4 – Yosemite National Park
Where to stay: Same as day 1, 2 & 3
Morning – Mirror Lake Hike
Distance: 7.1km / 4.4 miles | Elevation: 92m / 301 ft | Time: 1.5 – 2 hours
Drive to the Mirror Lake Trailhead first thing in the morning and eat breakfast there to make sure you can get a parking spot.
Mirror Lake is a very popular hike for photographers because the trail takes you to one of the classic photo spots with views of Half Dome, North Dome, and Mt Watkins. The Mirror Lake Trail is one of the only flat trails in Yosemite National Park, along with the Lower Falls Trail.
We missed Mirror Lake because of how hot the weather was while we were in Yosemite. We ended up chilling out and swimming at the river in the middle of the day to cool off.
Afternoon – River Rafting and swimming
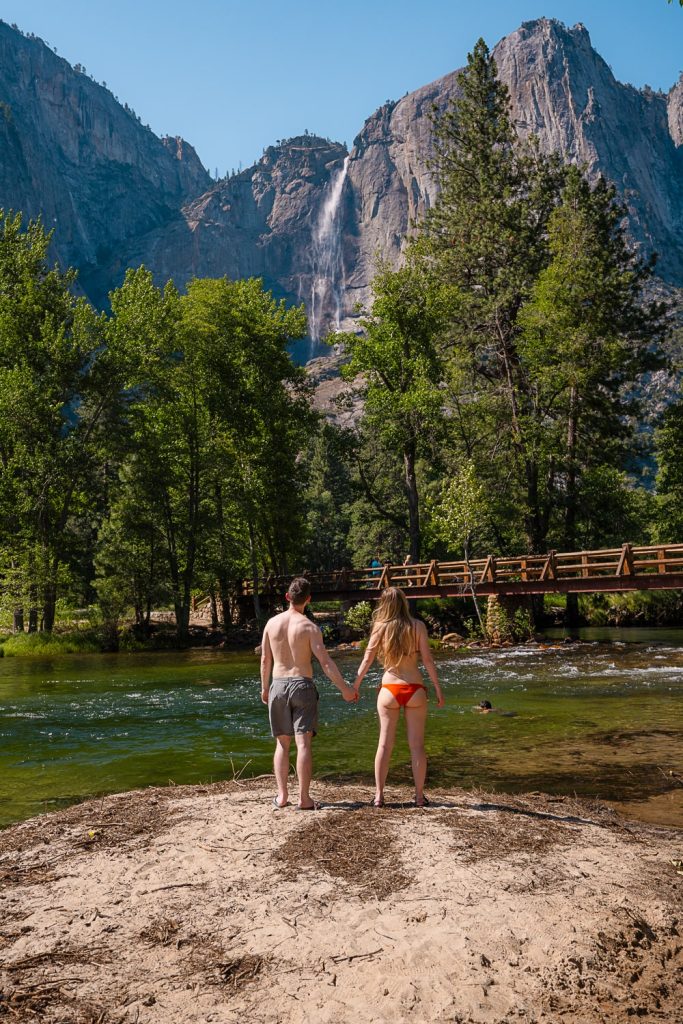
Did you know that you can bring your own or rent an inflatable raft from Curry Village and float down the Merced River in Yosemite!? While we were swimming and lazing by the river we were entertained by loads of rafters and paddle boarders floating past. It looked like a blast!
You can find more information on rafting in Yosemite here.
Day 5 – Drive to Sequoia National Park
Where to stay: Camping: Dispersed site using The Dyrt App or a Sequoia National Park Campground
Hotel: Wuksachi Lodge
We camped in a dispersed campsite which we founding using The Dyrt App while visiting Sequoia which was about 40 minutes from the main park area. It was a super convenient and lovely spot except for the 1000s of mozzies that seemed to live there! We could barely leave the car without being swarmed!
Grocery Shopping
On the way to Sequoia, you’ll probably need to stock up on some more food for the next 4-5 days to last until you reach Lake Tahoe. We got our groceries in Fresno.
Sunset hike to Moro Rock
Distance: 0.8km / 0.5 miles | Elevation: 56m / 183 ft | Time: 20-30 minutes

Moro Rock is a super short but worth it hike that is best done at sunset. Because it is so short, you will probably find it packed with people but it was an unusual hike and lots of fun. You will be hiking up 350 stairs carved out of a large granite dome.
From the top, you will get 360 degree views of the San Joaquin Valley and the California wilderness.
Day 6 – Sequoia National Park
Where to stay: Same as day 5
Early Morning – Tunnel Log Drive Through

The Tunnel Log Drive through is a large Sequoia Tree that has toppled over across the road and has a road shaped cut out in the middle for you to drive through.
I recommend getting to the Tunnel Log Drive through as early as you can in the morning to beat the crowds. We first decided to check out Tunnel Log the night before just before sunset and there was a large queue of cars waiting to take photos. At sunrise the next day, we had it completely to ourselves!
Late Morning – Big Trees Trail
Distance: 1.9km / 1.2 miles | Elevation: 33m / 108 ft | Time: 30 minutes

The Big Trees trail is a short and easy trail that is stroller and wheelchair accessible. There is also an accessible parking lot so that you can park right next to the trailhead if you need to. Others will need to park across the road from the museum and walk to the trail which takes around 5-10 minutes.
11amish – Congress Trail & General Sherman

Drive over to the Congress Trail, park and have lunch. This is the most popular trail in the park so it’s worth checking before you go at the Museum whether the parking lot is full or not. If it is, you can leave your car at the Museum parking and catch one of the Sequoia National Park shuttles. They are free and operate from 8:30am until 6pm.
We found that the light through the trees was absolutely gorgeous at around 11am on this trail. Along the trail, you will see lots of incredible clusters of Sequoia Trees including the General Sherman Tree which is the LARGEST TREE IN THE WORLD! 😱
Day 7 – Drive to Big Sur
Where to stay: Camping: Monterey Veterans Memorial Park or Fernwood Campground and Resort
Hotel: Big Sur Lodge
Traveller’s Tip: The Monterey Veterans Memorial Park operates on a first come first serve basis and you will need to pay in cash. Alternatively, you could stay along the Big Sur Highway at Fernwood Campground and Resort.
Drive to Carmel-By-The-Sea
The drive from Sequoia National Park to Carmel-By-The-Sea is around 4 hours. Once you get to Carmel-By-The-Sea, stop off for lunch somewhere and to fill up your car’s petrol.
Check out Carmel By the Sea
Carmel-By-The-Sea has a cute little village centre that is worth checking out. The beaches there such as Carmel Beach are also absolutely gorgeous!
Photograph the Lone Cypress at Sunset
The Lone Cypress is a bit of a famous photography spot. It is a Cypress Tree sitting on top of a granite headland overlooking Pebble Beach. It is one of the most photographed trees in North America and I’m very sorry to say that we missed it!
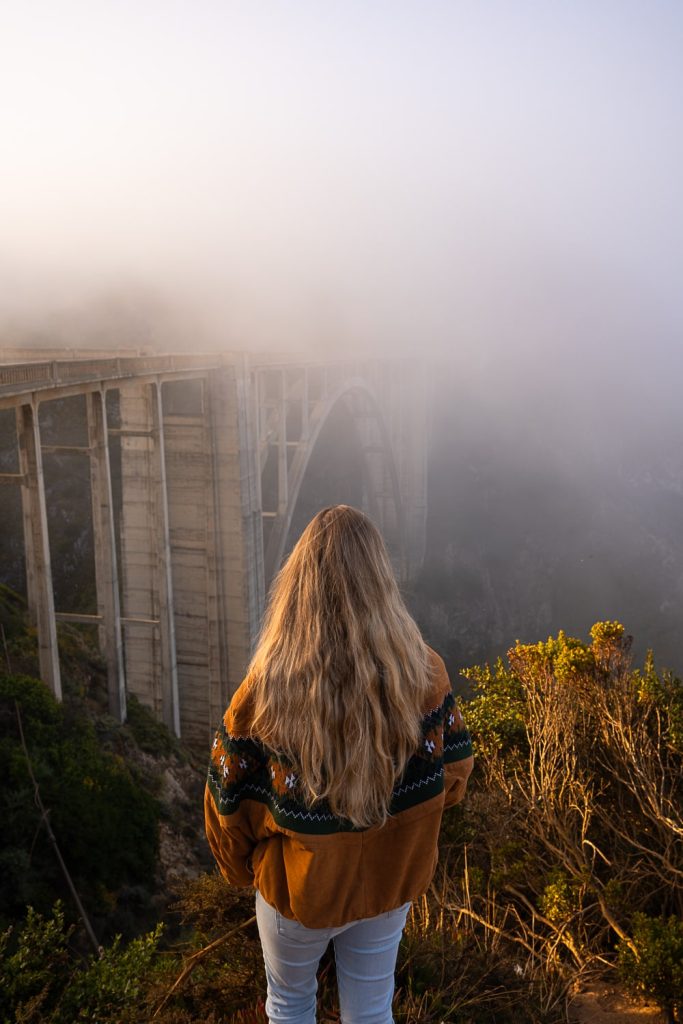
We had trouble with the fog while we were there, and so we ended up driving back to Bixby Bridge for sunrise instead of the Lone Cypress.
🌫 Did you know: The California coast and Big Sur can actually be extremely foggy! While we were there it was rolling in and out the entire time. Summer is also the foggiest time of the year!
Get Mexican Food for dinner!
Monterey and Carmel-By-The-Sea has a strong Mexican influence so there are loads and I mean LOADS of Mexican restaurants. We went to a family-owned Mexican restaurant in Monterey and I think it was the best Mexican food that I have ever tasted!
Day 8 – Big Sur
Where to stay: Same as day 7
Drive the Big Sur Highway and see the sights!

We spent pretty much all day driving Highway 1 along Big Sur and we still didn’t see it all! We started our drive in Carmel-By-The-Sea and ended our drive at McWay Falls for sunset which we only just made in time! Some of the other places that we stopped at were:
1. Garapata State Park
2. Calla Lily Valley
3. Great Sur Vista Point
4. Bixby Bridge
5. Notley’s Landing
6. Vista Point
7. McWay Falls sunset
You can usually go further than McWay Falls, however, there is currently a road closure on Highway 1, which would have meant doing a HUGE detour. Make sure you check if this closure is still there before you plan your trip.
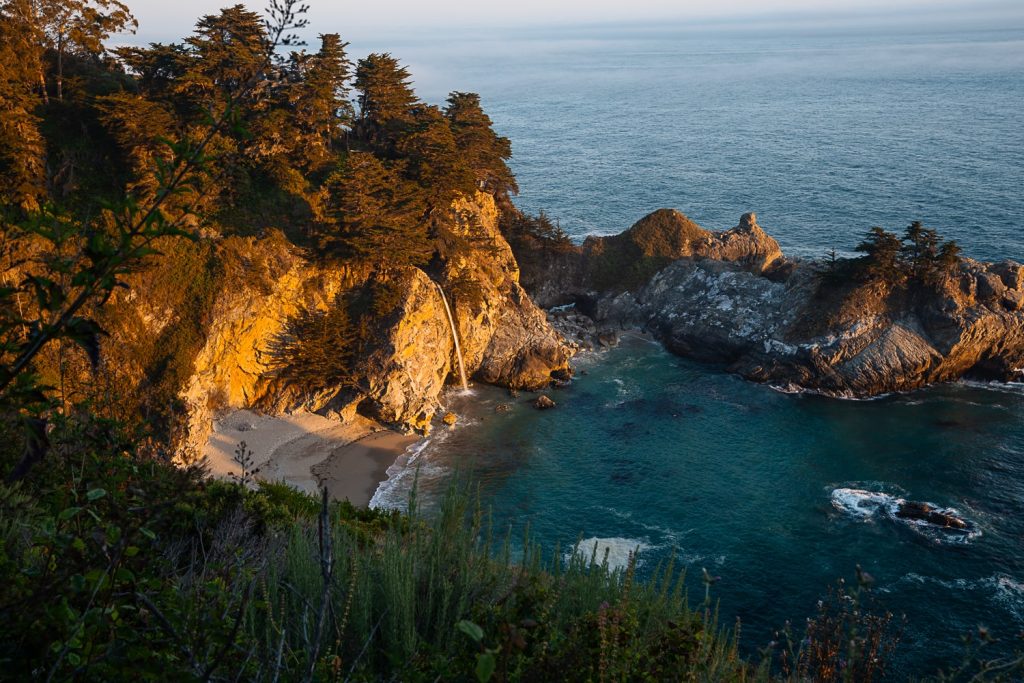
Stop off at Nepenthe, The Big Sur River Inn or the Fernwood Tavern for lunch or a drink. We stopped for a beer just before sunset at the Fernwood Tavern which is why we ended up rushing for sunset. We were WAAYY too relaxed. haha oops! But the Fernwood Tavern was lovely. We sat upstairs on the deck which is an outdoor area in the trees.
Day 9 – Drive to Lake Tahoe
Where to stay: Camping: Fallen Leaf Campground
Hotel: Bally’s Lake Tahoe Casino Resort – this is where we stayed and it was super nice!
Drive to Lake Tahoe
Day 9 is another travel day. You will be driving about 5 hours to Lake Tahoe. We got a few extra snacks and things for lunches in Monterey before starting our drive. In Lake Tahoe, we were staying at a hotel so we decided to treat ourselves and eat out at night.
Do your laundry (if needed)
We were pretty desperate for fresh clothes by the time we reached Lake Tahoe so we found a laundromat. We went to the Ski Run Laundry and Mountain Fresh Laundry Service which was nice and clean and right next to the Shedcat Distillery and Kitchen so we waited there and enjoyed some beers.
Dinner in town
There are loads of choices for dinner in South Lake Tahoe. The town is a real vibe with live music and patio seating during the Summer. We did find that the cost of eating out was higher here, most likely because of how touristy it is there.
Day 10 – Lake Tahoe
Where to stay: Same as day 9
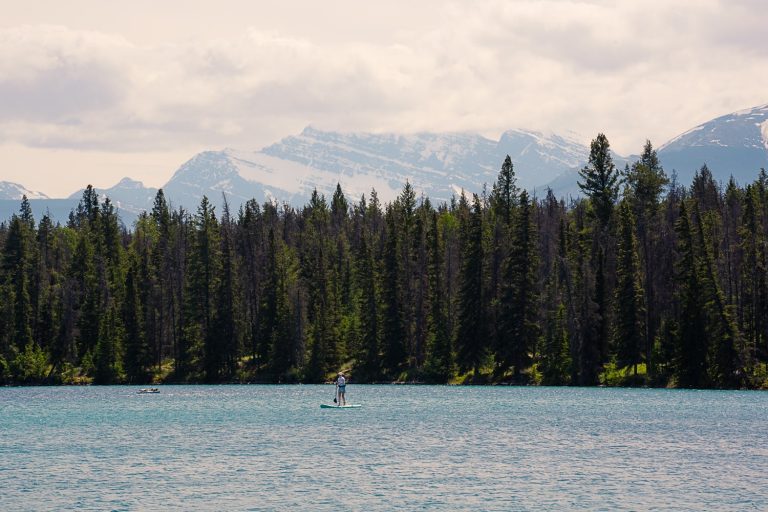
Paddle Boarding at Secret Cove or Sand Harbor
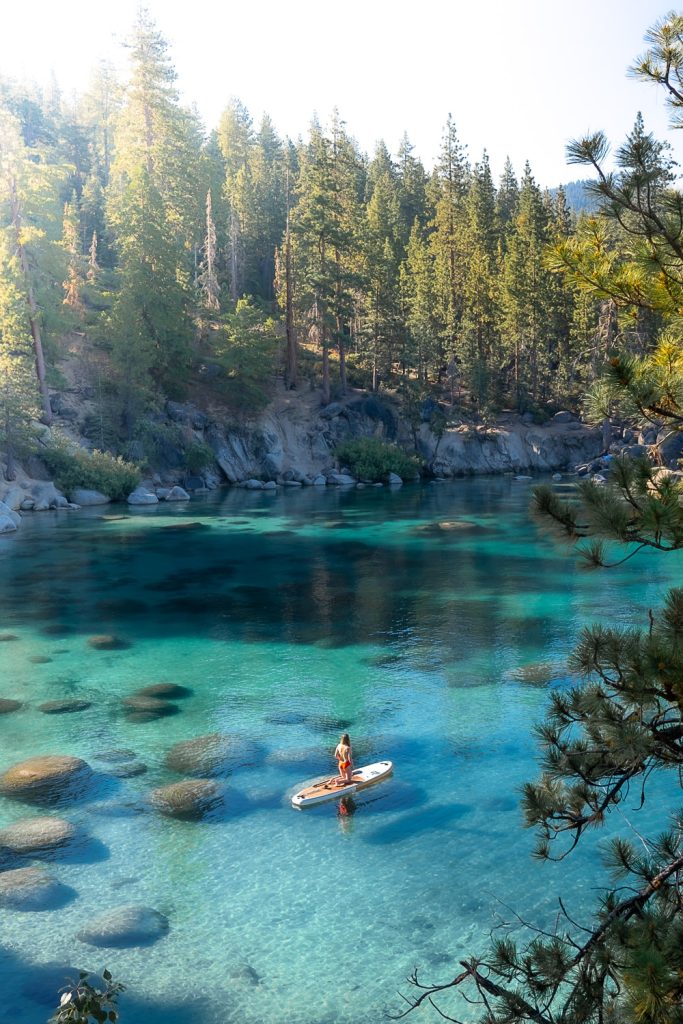

We hired inflatable paddle boards from SUP Tahoe and walked down to Secret Cove to paddle board early in the morning. Secret Cove is absolutely gorgeous but it is a nude beach. We were the first ones there at sunrise but by 10-11am, there were probably around 50 others there. Most people were wearing swim suits.
Alternatively, you can paddle board at Sand Harbor. For both of these spots, I recommend getting there first thing in the morning to make sure you get a parking spot.
Sand Harbor and Secret Cove are two of the best paddle boarding spots in Lake Tahoe!
Swimming at Bonsai Rock
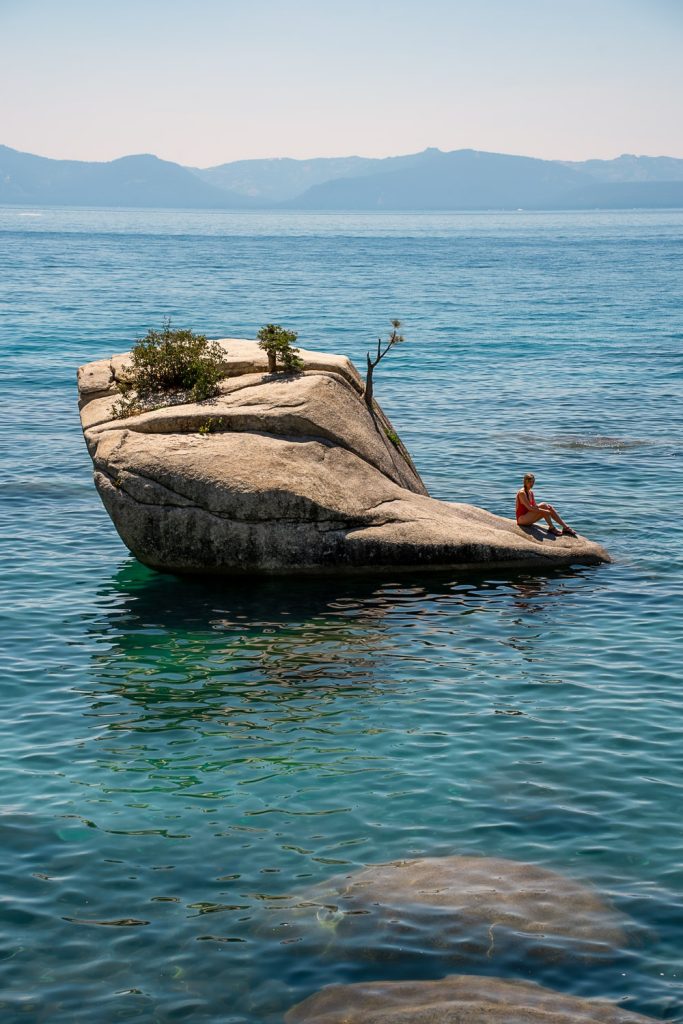
Bonsai Rock was one of our favourite places to swim in Lake Tahoe, along with Secret Cove. If you decide to do the Clear Kayak tour on day 11, you will get to kayak over to Bonsai Rock. We hung out at the rock for HOURS. It was so relaxing and peaceful.
Sunset at Cave Rock
Distance: 1.3km / 0.8 miles | Elevation: 36m / 118 ft | Time: 20minutes
Cave Rock is a short hike which takes you up to an amazing viewpoint overlooking Lake Tahoe. It is also one of the best family hikes in Lake Tahoe. Definitely a must do to watch the sunset while you are in Lake Tahoe!
Day 11 – Lake Tahoe
Where to stay: Same as day 9 & 10
Clear Kayak Tour
This is one of the best things to do in Lake Tahoe and I’m super sad that we missed it. Imagine kayaking in the clearest lake you can imagine, in a clear kayak so that you can see straight down to the bottom of the lake! Absolutely bonkers!
This Clear Kayak Tour takes you to Bonsai Rock so you could always do this instead of Bonsai Rock, or you could do both because Bonsai Rock is amazing!
Hire E-bikes
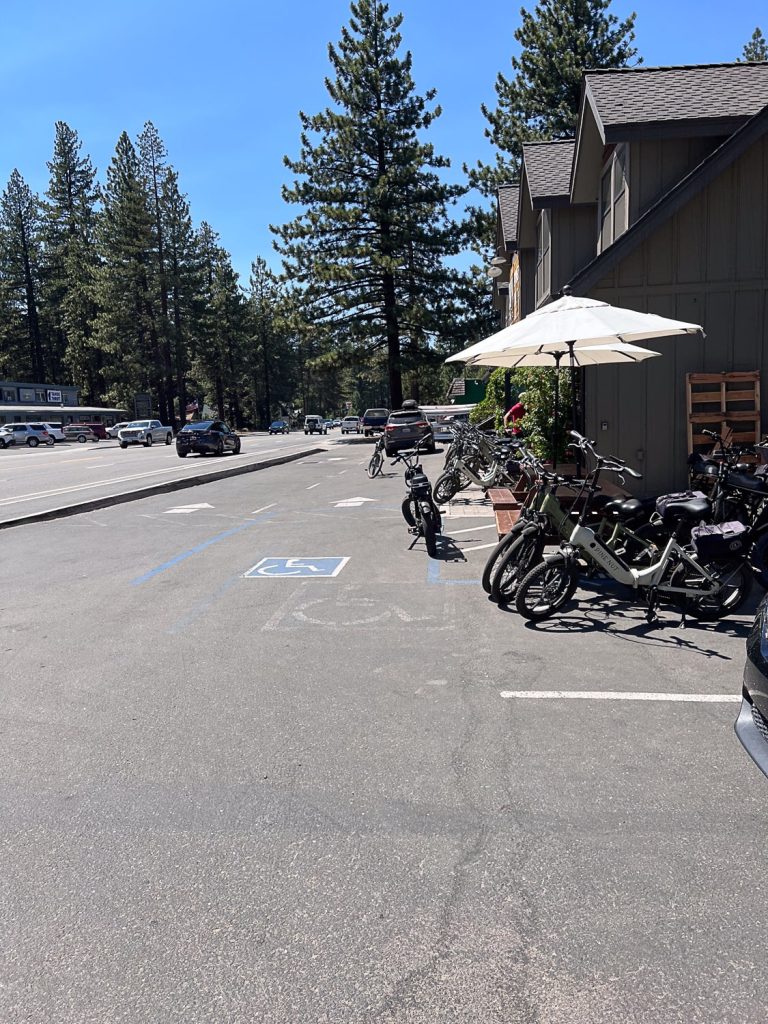

We hired E-bikes from SUP Tahoe (same place as the paddle boards) and rode to a few different beaches on Lake Tahoe, before getting ice cream from Camp Richardson. We also rode to Fallen Leaf Lake which is right next to the campground that I have recommended in this blog post. If you are looking for a quieter place to paddle board or swim, it is a great spot!
Sunset hike to Monkey Rock
Distance: 4.2km / 2.6 miles | Elevation: 152m / 498 ft | Time: 1-1.5 hours
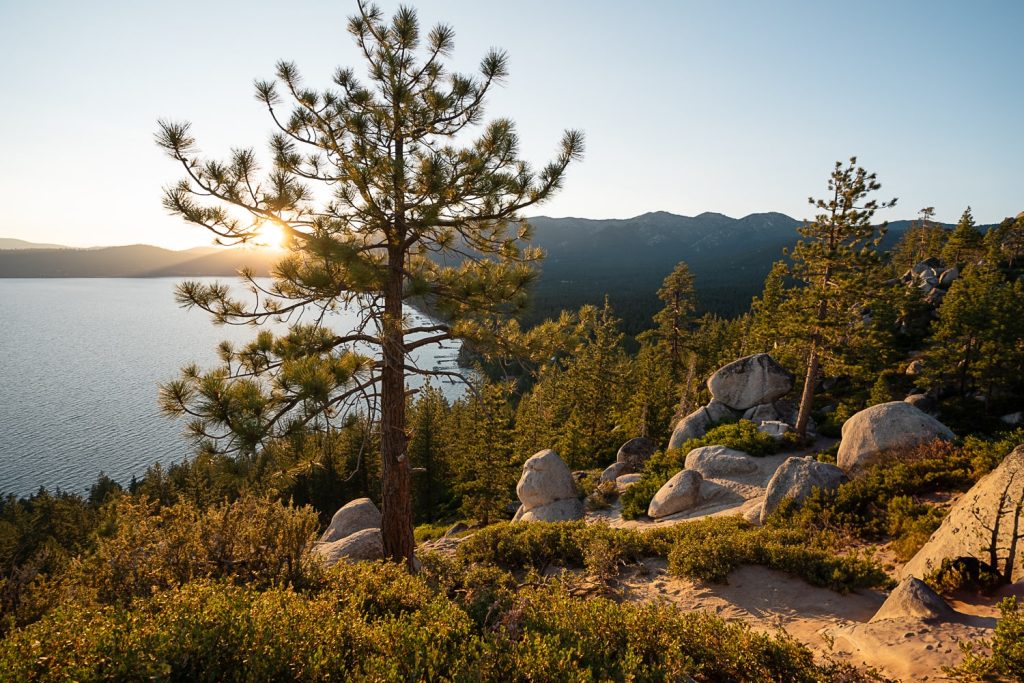

Monkey Rock is exactly how it sounds. It is a rock shaped like a monkey! This is another great sunset hike to do in Lake Tahoe because not only do you get to see an awesome rock formation but you also get stunning views of Lake Tahoe from the top.
Top Tip: Have dinner in town before your hike so that you don’t get hangry while you are up there. 😉 I know I would!
Day 12 – Drive to Point Reyes National Seashore
Where to stay: Camping: Olema Campground – where we stayed!
Hotel: Olema House
Drive to Point Reyes and Grocery Shopping
From Lake Tahoe to the the accommodation, it is around a 3 hour 45 minute drive. We stayed at the Olema Campground which was great. They had showers and drinkable water. I have also heard amazing things about Olema House Hotel which is located right next to the campground.
For grocery shopping, I recommend stopping on the way to Point Reyes as it is a pretty small town. You will pass through Sacramento on your drive, so there will be plenty of options.
Sunset at South Beach Overlook
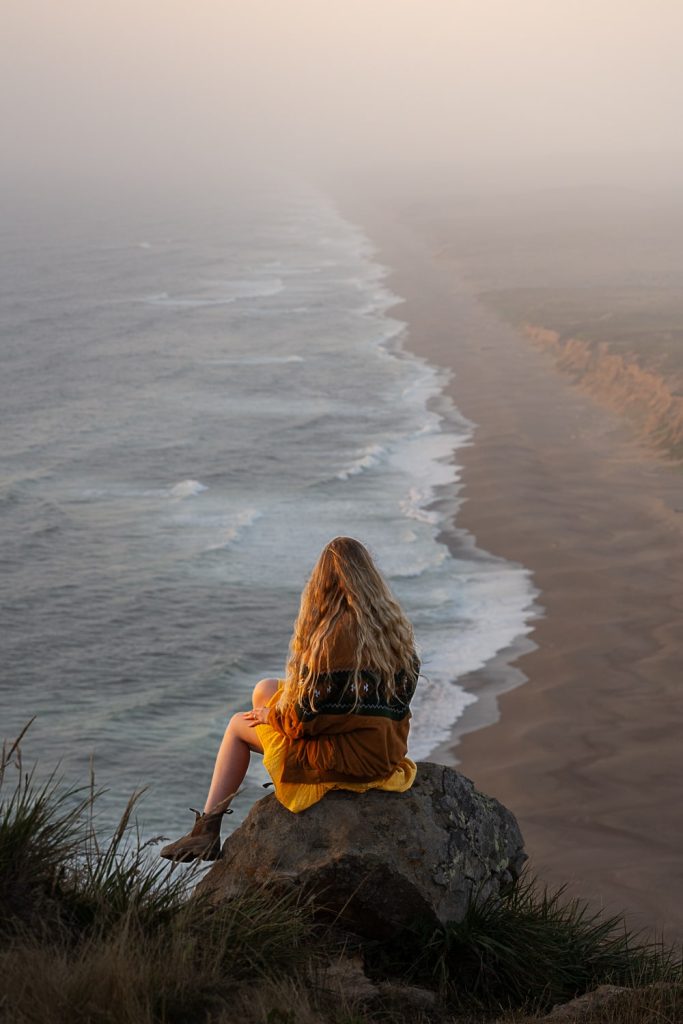
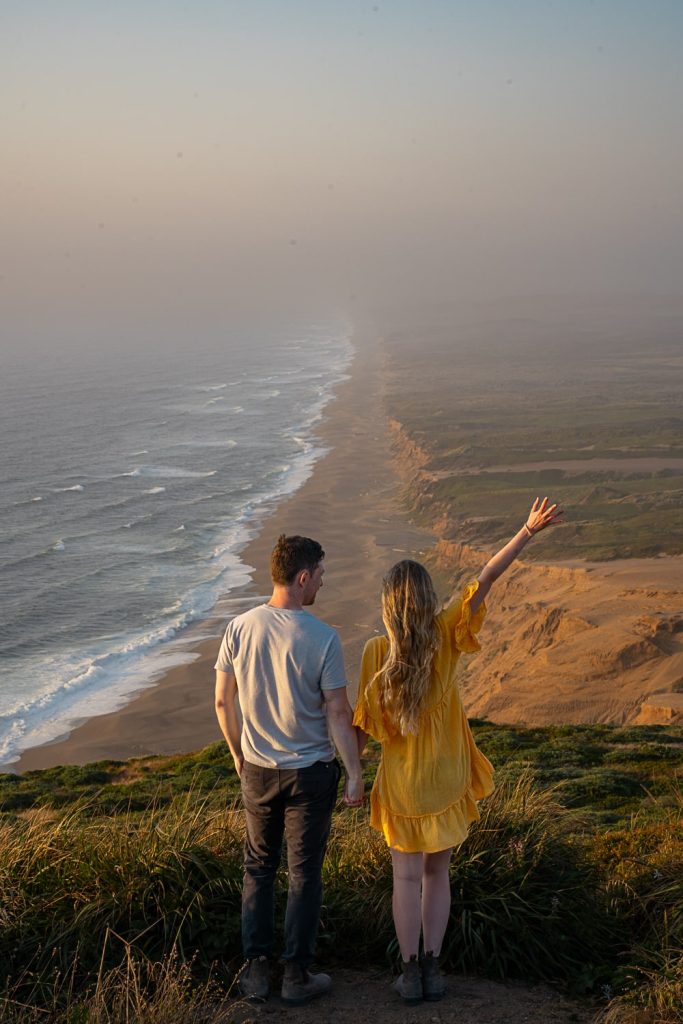
South Beach Overlook is a 40 minute drive from the hotel and campground. We found our camp spot first, had dinner and then drove to the overlook for sunset which was absolutely gorgeous.
South Beach Overlook is right next to Point Reyes Lighthouse, so you could also do this at the same time.
Day 13 – Point Reyes National Seashore and Mount Tam
Where to stay: Camping: Marin RV Park
Hotel: The Lodge at Tiburon
Explore Point Reyes
Today, you have a full day to explore Point Reyes up until sunset so you can pick and choose where you want to go and what you want to see. Below is a suggestion of which spots to hit up.
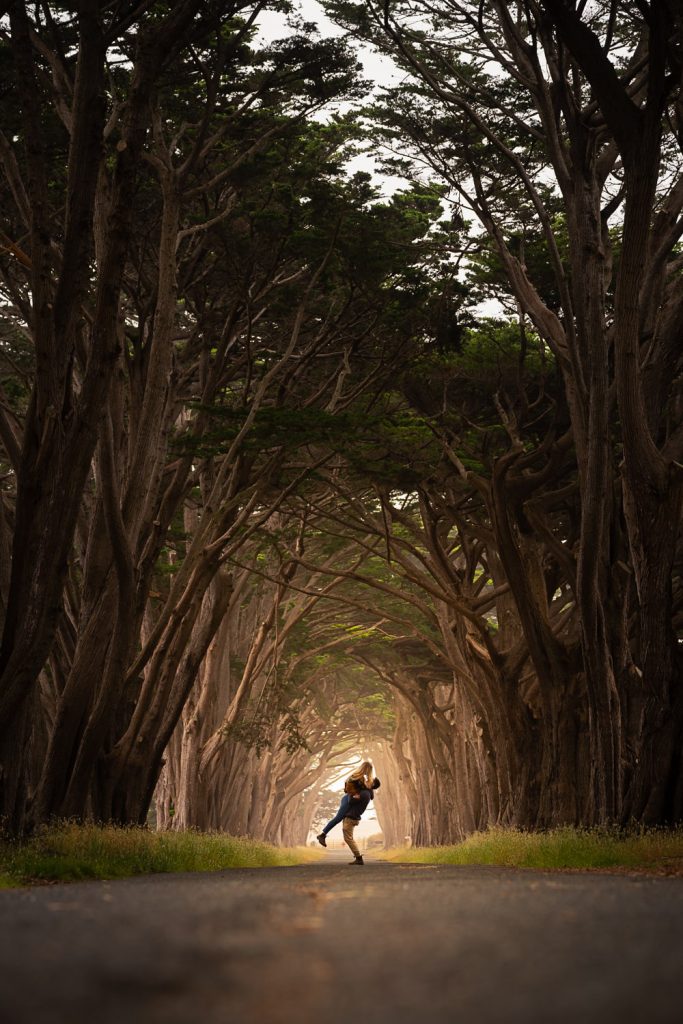
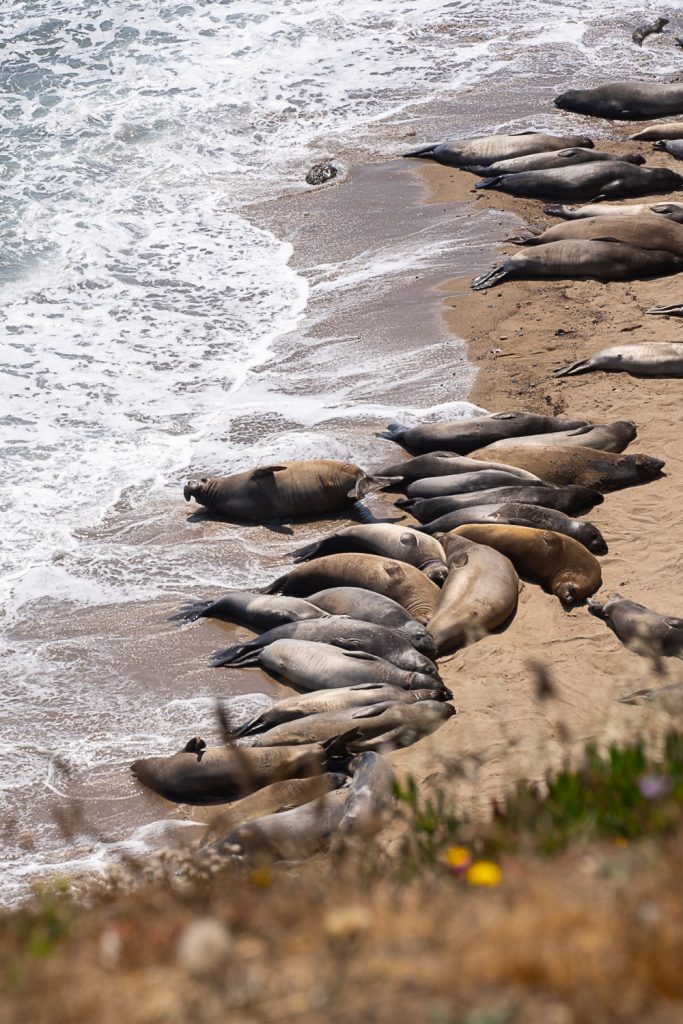
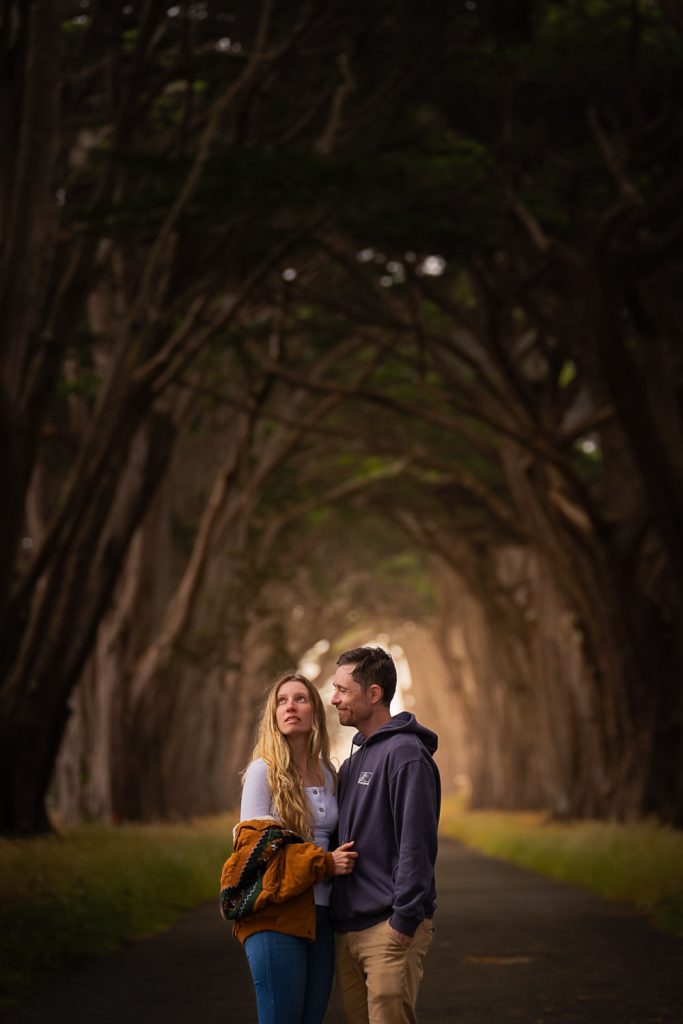
- Cypress Tree Tunnel – great for photographers!
- Point Reyes Lighthouse
- Chimney Rock – we saw elephant seals along this trail!
- Drakes Beach
- Tomales Point – We missed out on Tomales Point but I have heard that it is stunning!
- Point Reyes Shipwreck
Sunset at Mount Tamalpais

We drove up Mount Tamalpais for sunset 2 nights in a row because we loved it so much and both nights we got a magical fairyland cloud inversion! Mount Tam is about a 40 minute drive from the Point Reyes accommodation and about 1 hour from San Francisco.
You can drive all of the way up to the top (no hiking required) and bring along a picnic dinner or just run around taking photos like we did.
Day 14 – San Francisco
Note: For San Francisco, you can keep following our itinerary below, or you can use my 1 Day in San Francisco Itinerary which includes the must-sees in Downtown San Francisco.
Where to stay: Same as day 13
Check out the Golden Gate Bridge
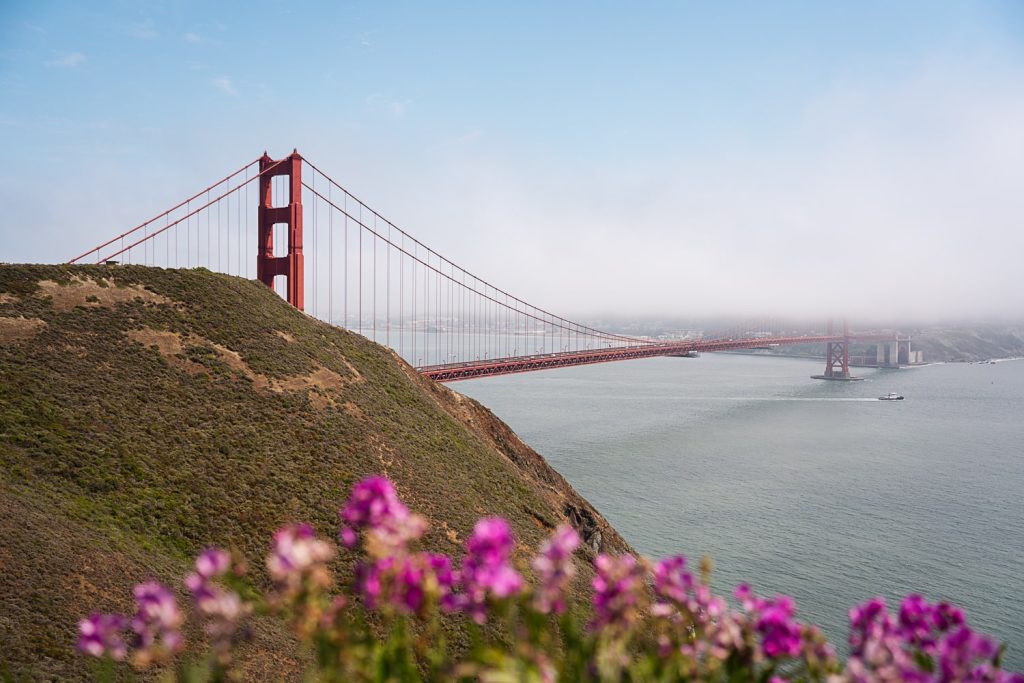
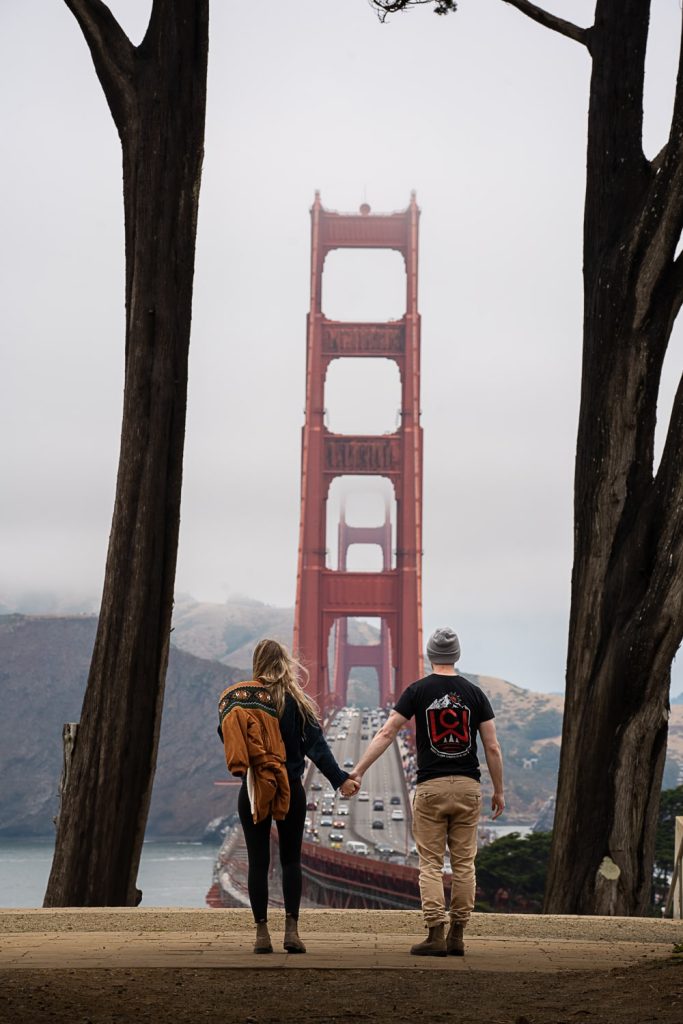
You can’t visit San Francisco without seeing the Golden Gate Bridge! Luckily, there are loads of different viewpoints to choose from! The downside to this is choosing which one(s) you should visit. We went to Battery Spencer and the Golden Gate Overlook and then hiked down to Marshall’s Beach.
Some of the other viewpoints that you can check out are:
- Hawk Hill at Marin Headlands
- Golden Gate Observation Deck
- Golden Gate View Point
- Fort Baker
- Kirby Cove
- Bunker Hill Hike
- Baker Beach
Hike down to Marshall’s Beach
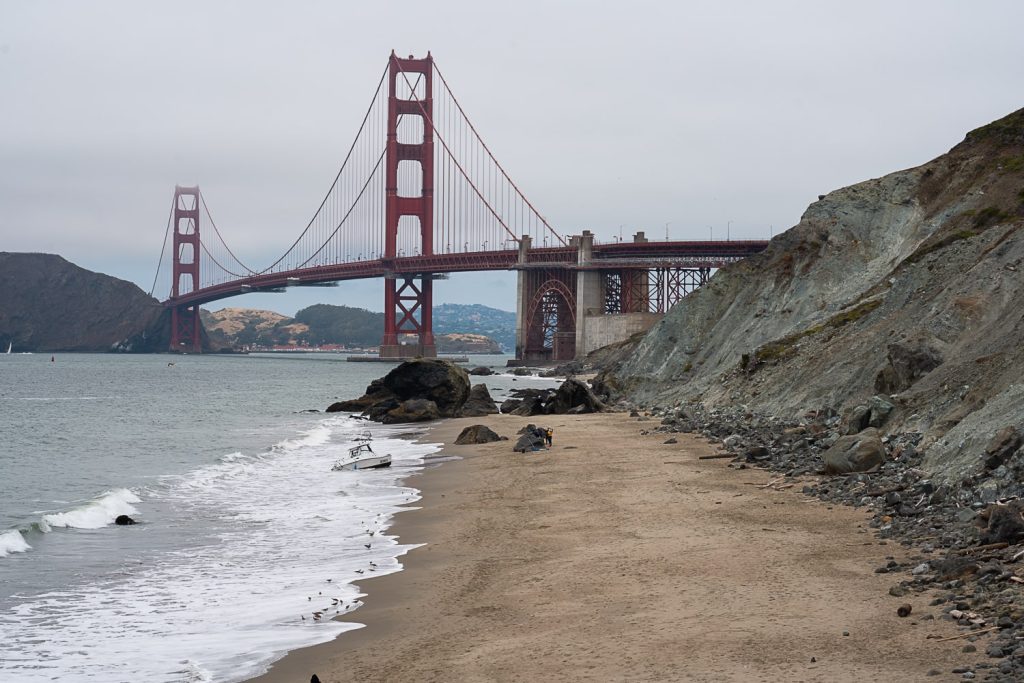
Marshall’s Beach was on my list of places to visit because it’s one of the beaches that the t.v show Charmed was filmed on and I was a HUGE Charmed fan back in the day. You can also see the Golden Gate Bridge from Marshall’s Beach.
This was the only bit of walking that we got in on our last full day of our trip. We felt like we needed to get out of the car properly and stretch our legs but we were also so exhausted so didn’t feel like doing too much hiking. Marshall’s Beach was the perfect little walk for this. You can get down to Marshall’s Beach from the Golden Gate Overlook parking lot.
‼ Do not leave any valuables in your car. We were well aware that break-ins were super frequent at the Golden Gate viewpoints and in San Fran so we were pretty worried. When we got back to our car, the Tesla next to us had one of their windows smashed. 😩
Lunch in Sausalito
Sausalito is a cute and fancy town across the bridge from Downtown San Francisco. The only reason we knew to go there was because my parents had lived in San Fran years ago and they said it was a must-see.
We had drinks at Bar Bocce with views of the water and even saw a seal! It was the perfect way to relax and end our adventurous road trip through California. The Raspberry Bellini was absolutely delicious! 😉
Day 15 – Travel Home
It’s your last day of your epic California road trip and it’s time to return you van and start the journey home. If you are returning an Avanti Campervan and flying home, you can easily catch a bus back to the airport from the drop off zone.
We were so exhausted after our adventurous 2 weeks that we didn’t do too much on our last day.
frequently asked questions
You might also enjoy:
- An Incredible 4 Day Yosemite National Park Itinerary
- The Best 2 Day Lake Tahoe Summer Itinerary
- The Magical Secret Cove Beach in Lake Tahoe
- Dreamy Places to Paddle Board in Lake Tahoe
- How to Hike the Monkey Rock Trail at Sunset
- How to Get to Bonsai Rock in Lake Tahoe
- Yosemite to Sequoia National Park: An EPIC 5 Day Itinerary
- How to Spend an Amazing 2 Days in Sequoia National Park
- How to Spend 24 hours in San Francisco (A Complete 1 Day Itinerary)
- Where to go Swimming in Yosemite
- The Most Instagrammable Spot Near San Francisco
- Beautiful Golden Gate Bridge Photo Spots
📌 Like it? Pin it!